Lecture 6
2015-2016
Maha al ani
1
Working with the Mini Toolbar
Anybody who has ever worked on any kind of document, from a word processed
letter to a PowerPoint presentation, knows that formatting text is one of the most
frequent tasks you perform. That is perhaps why Microsoft added the Mini toolbar
in this version of PowerPoint. Now, when you select text, a small floating toolbar
appears right next to the text itself. You can easily click on tools such as Bold,
Italic, or Font Size without having to move your mouse up to the Ribbon and back
to the text again.
The Mini toolbar is somewhat translucent when you first select text; you have to
move your mouse over to it to get a solid image of the tool buttons on it. If you
move the mouse away from the toolbar, you have to reselect the text to make it
appear again.
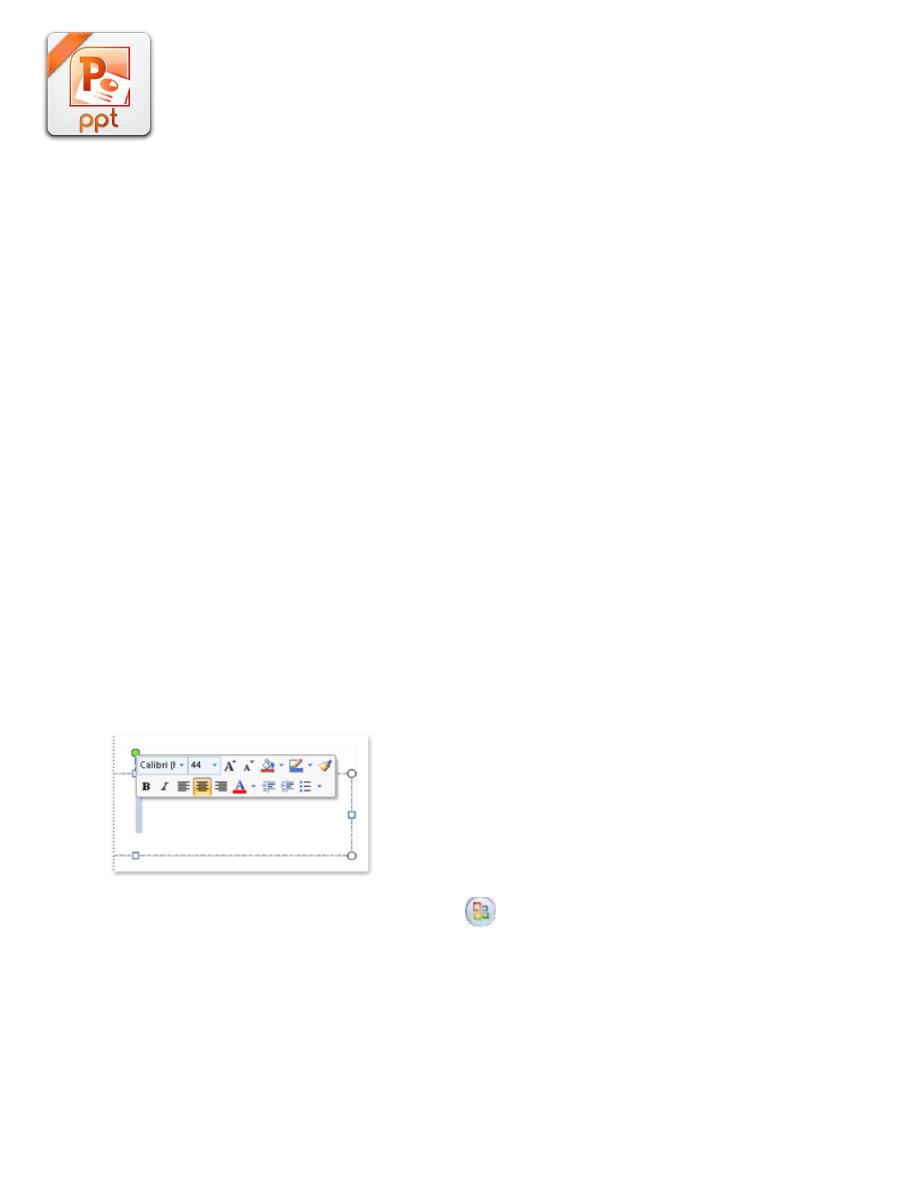
Add formatting to your document by using the Mini toolbar
When you select text, you can show or hide the handy Mini toolbar, which helps
you work with fonts, alignment, text color, indenting, and bullets.
Note You cannot customize the Mini toolbar.
The following illustration shows the Mini toolbar when you rest your pointer on it.
1. Click the Microsoft Office Button
, and then click PowerPoint
Options.
2. Click Popular, and then under Top options for working with PowerPoint,
clear the Show Mini Toolbar on selection check box.
Lecture 6
2015-2016
Maha al ani
2
Overview of PowerPoint 2007 views
The views in Microsoft Office PowerPoint 2007 that you can use to edit, print, and
deliver your presentation is:
Normal view
Slide Sorter view
Notes Page view
Slide Show view (which includes Presenter view)
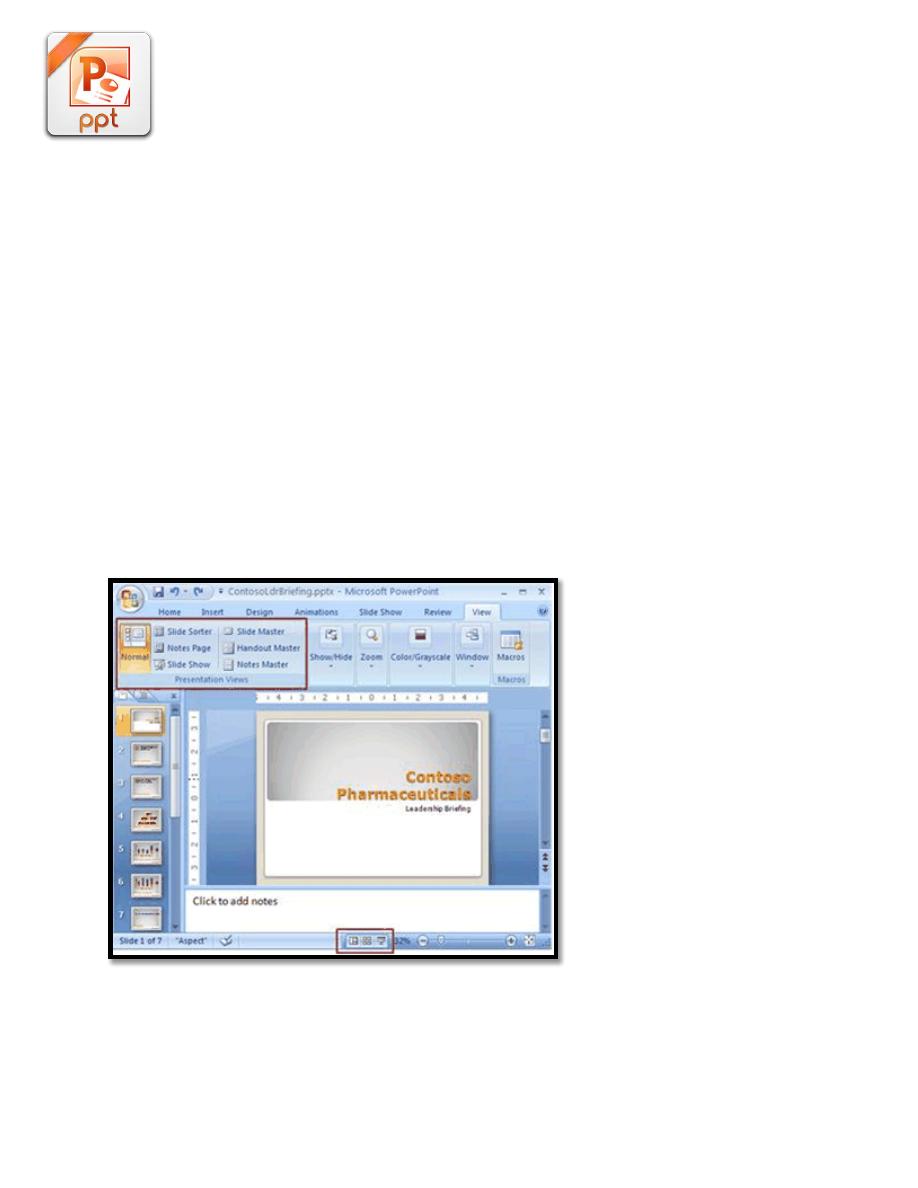
As the screen capture below illustrates, you can find PowerPoint views in two
places:
On the View tab, in the Presentations Views group, where all views are
available.
On an easy-accessible bar at the bottom of the PowerPoint Window where
the main views (Normal, Slide Sorter, and Slide Show) are available.
Lecture 6
2015-2016
Maha al ani
3
Views for delivering your presentation
Slide Show view
Use Slide Show view to deliver your presentation to your audience. Slide Show
view takes up the full computer screen, like an actual presentation. In this view,
you see your presentation the way your audience will. You can see how your
graphics, timings, movies, animated effects, and transition effects will look during
the actual presentation.
To exit Slide Show view, press ESC.
Add a movie
To prevent possible problems with links, it is a good idea to copy the movies into
the same folder as your presentation before you add the movies to your
presentation.
1. In Normal view, click the slide to which you want to add a movie or
animated GIF file.
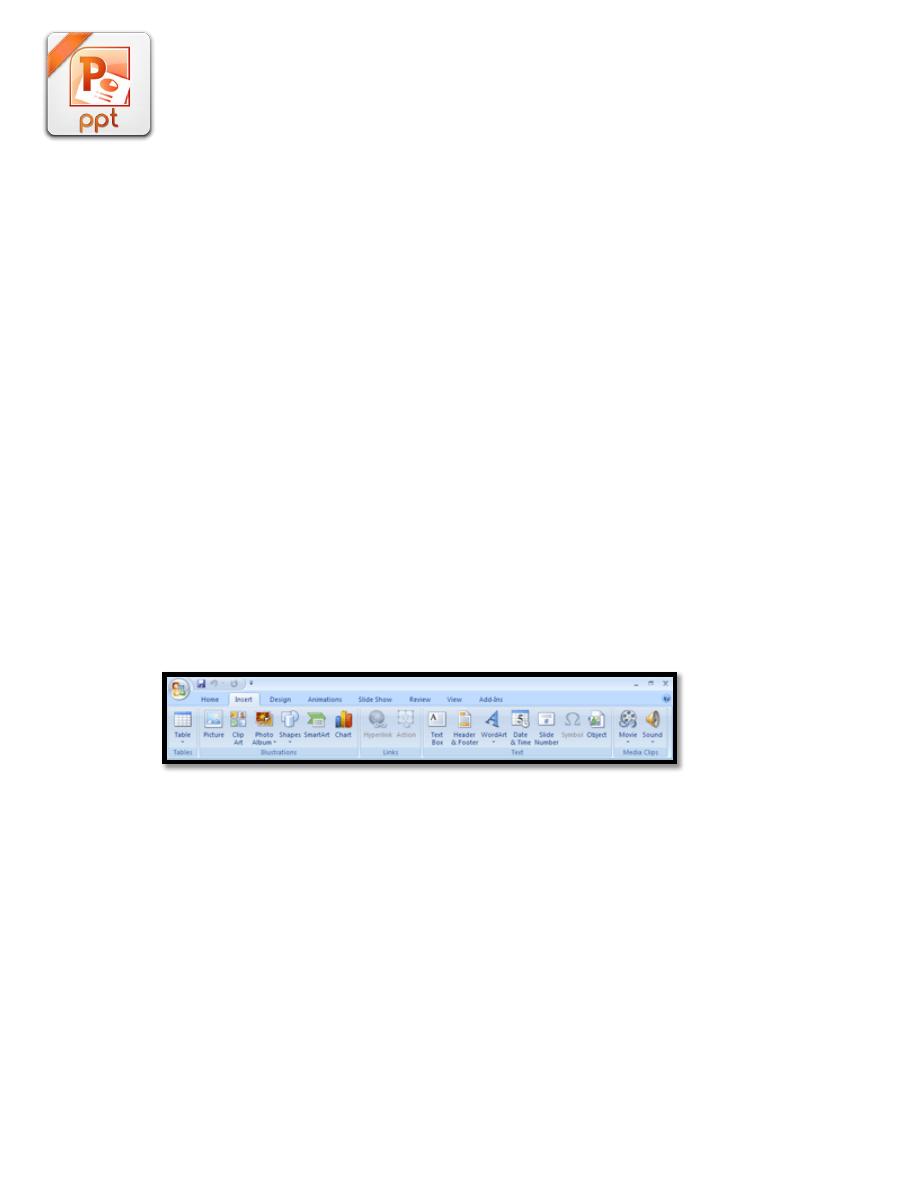
2. On the Insert tab, in the Media Clips group, click the arrow under Movie.
3. Do one of the following:
o
Click Movie from File, locate the folder that contains the file, and
then double-click the file that you want to add.
o
Click Movie from Clip Organizer, scroll to find the clip that you
want in the Clip Art task pane, and then click it to add it to the slide.
Tip You can preview a clip before you add it to your presentation. In
the Clip Art task pane, in the Results box that displays the available
clips, move your mouse pointer over the clip's thumbnail, click the
arrow that appears, and then click Preview/Properties.
Lecture 6
2015-2016
Maha al ani
4
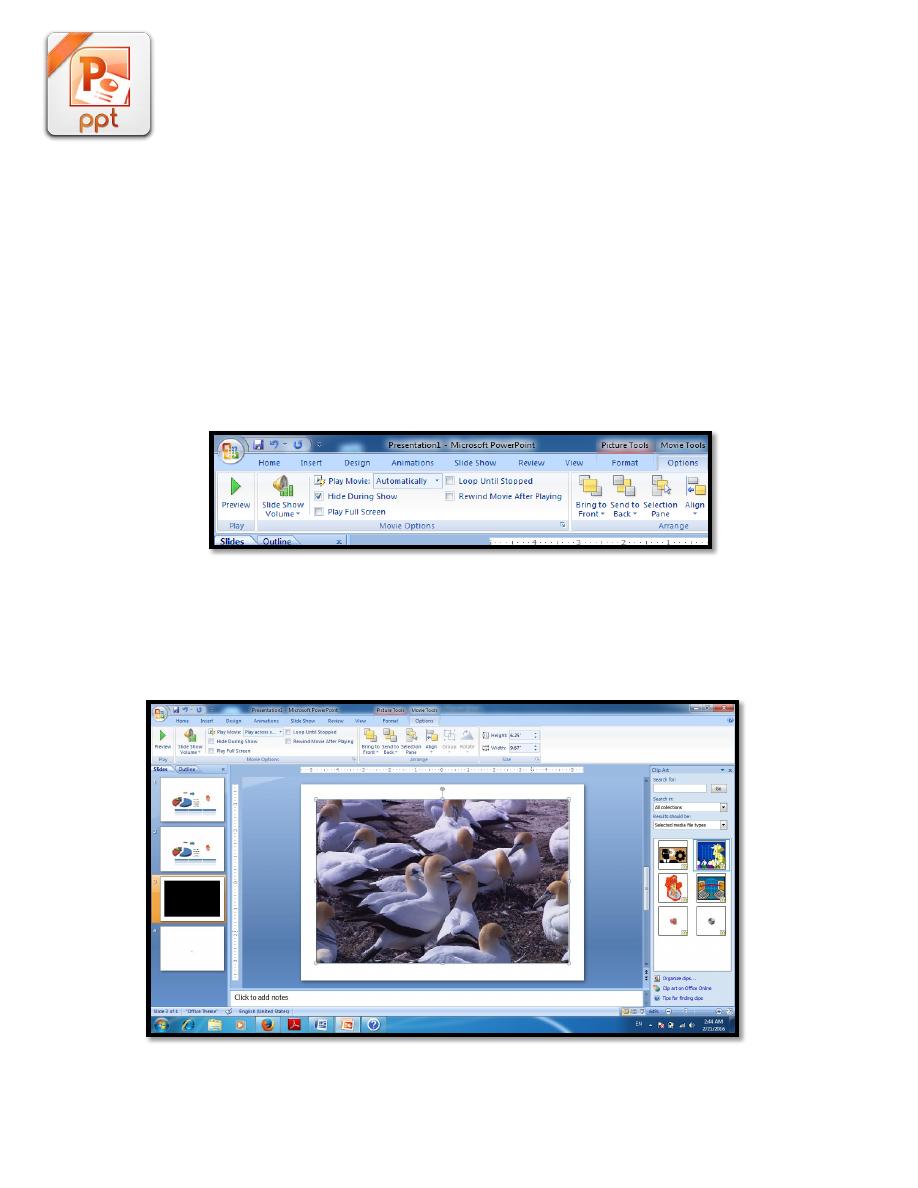
Choose between Automatically or When Clicked
When you insert a movie, you are prompted with a message asking how you want
the movie to start: automatically (Automatically) or when you click the movie
(When Clicked).
To automatically start the movie when you show the slide, click
Automatically. You can pause a movie while it is playing by clicking it. To
continue playing the movie, click it again.
To manually start the movie when you click it on the slide, click When
Clicked.
When you insert a movie, a pause trigger effect is added. It's called a trigger
because you have to click something specific within the slide to play the movie.
For example, in a presentation, you click the movie frame to pause the movie and
lick it again to resume playing it.

Lecture 6
2015-2016
Maha al ani
5
How to Close PowerPoint Presentations: Instructions
1. To close a presentation if you have multiple presentations open, click the “x”
in the upper right corner of the application window to close the current
presentation. Clicking the “x” is equivalent to executing the “Close”
command.
2. To close a presentation if you only have a single presentation open and you
want to leave the PowerPoint application open, click the Microsoft Office
button. Then click the “Close” command to close the file and leave the
program open.
3. If you click the “x” in the upper-right corner of the application window with
only one presentation open, you will close the presentation and also exit the
application.