
First stage
حاسبات
Lec-3
16/12/2015
د.مها العاني
Insert a picture from your computer
1. Click where you want to insert a picture in your document.
2. On the Insert tab, in the Illustrations group, click Picture.
3. In the Insert Picture box, browse to the location of the picture on your
computer, select the picture, and then click Insert.
Note To add multiple pictures, press and hold CTRL while you selecting
the pictures and then click Insert.
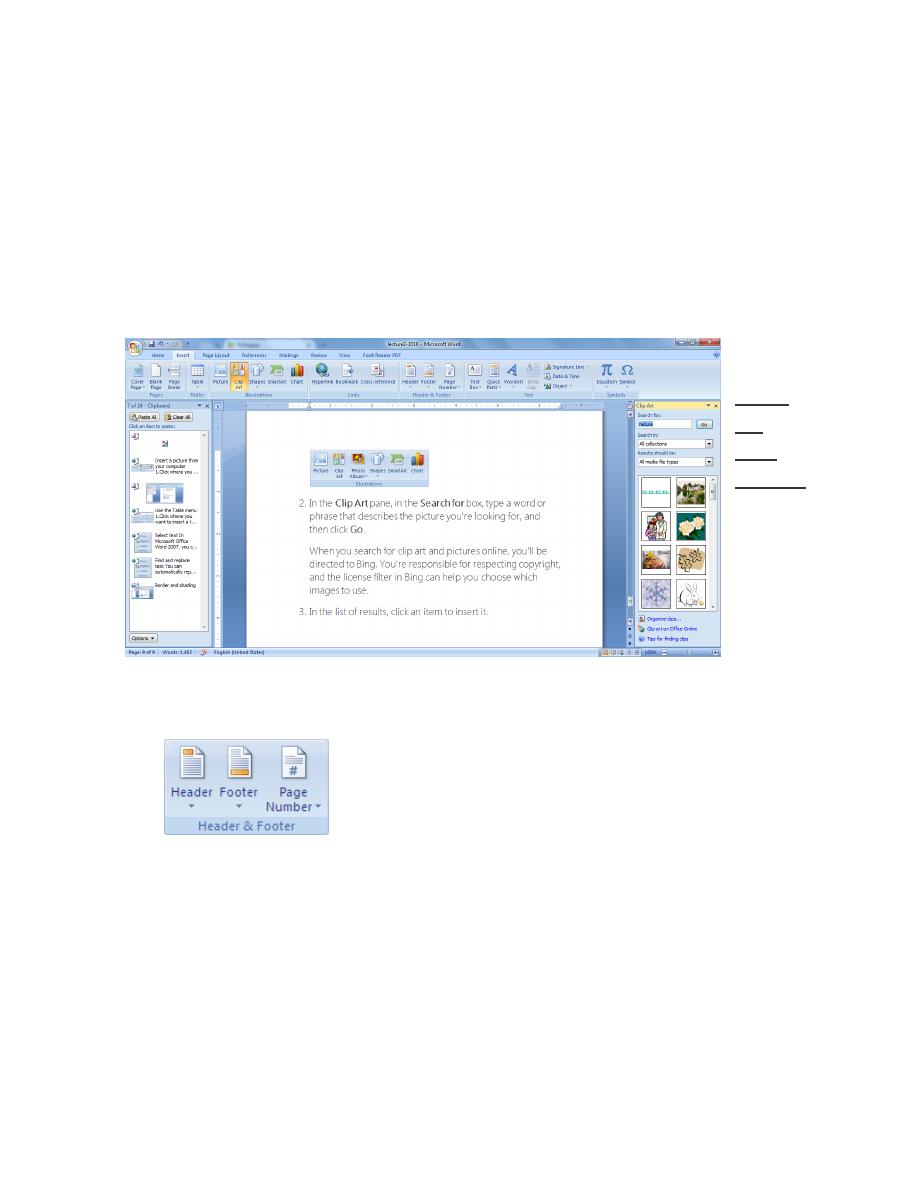
Insert clip art
1. On the Insert tab, in the Illustrations
group, click Clip Art.
2
2. In the Clip Art pane, in the Search for box, type a word or phrase that
describes the picture you're looking for, and then click Go.
When you search for clip art and pictures online, you'll be directed to Bing.
You're responsible for respecting
help you choose which images to use.
3. In the list of results, click an item to insert it.
Insert
the
page
number
On the Insert tab, in the Header & Footer group, click Page Number.
Click Top of Page or Bottom of Page, depending on where you want page
numbers to appear in your document.
Choose a page number design from the gallery of designs.
3
Insert the date and time
A document was created, last printed, or last saved
1. Click where you want to insert the date or time.
2. On the Insert tab, in the Text group, click Date and Time.
3. In the Date formats box, click the date and time format that you want — for
example, 2/12/2008 9:45 PM or 12 February 2008.
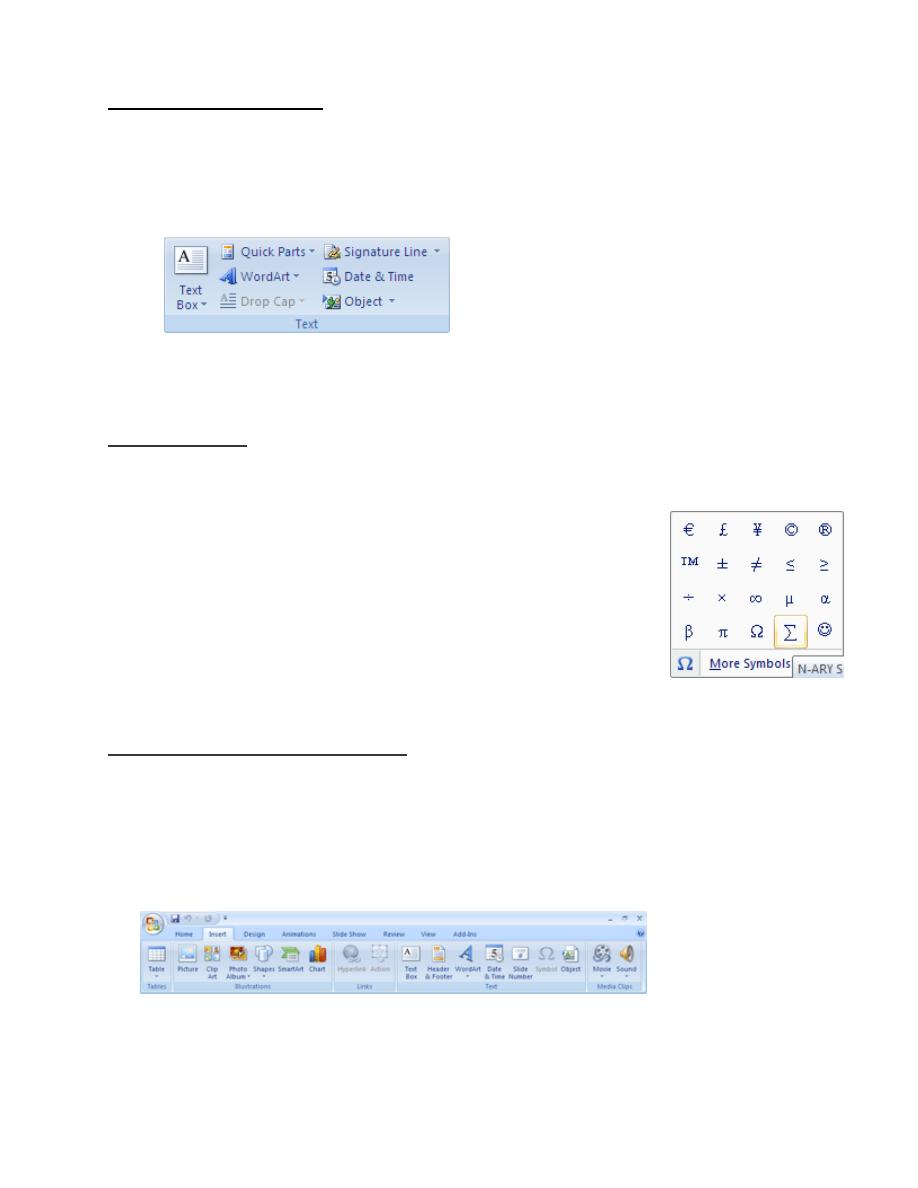
Insert a symbol
1. Click where you want to insert the symbol.
2. On the Insert tab, in the Symbols group, click Symbol.
3. Do one of the following:
o
Click the symbol that you want in the drop-down
list.
o
If the symbol that you want to insert is not in the
list, click More Symbols. In the Font box, click the
font that you want, click the symbol that you want
to insert, and then click Insert.
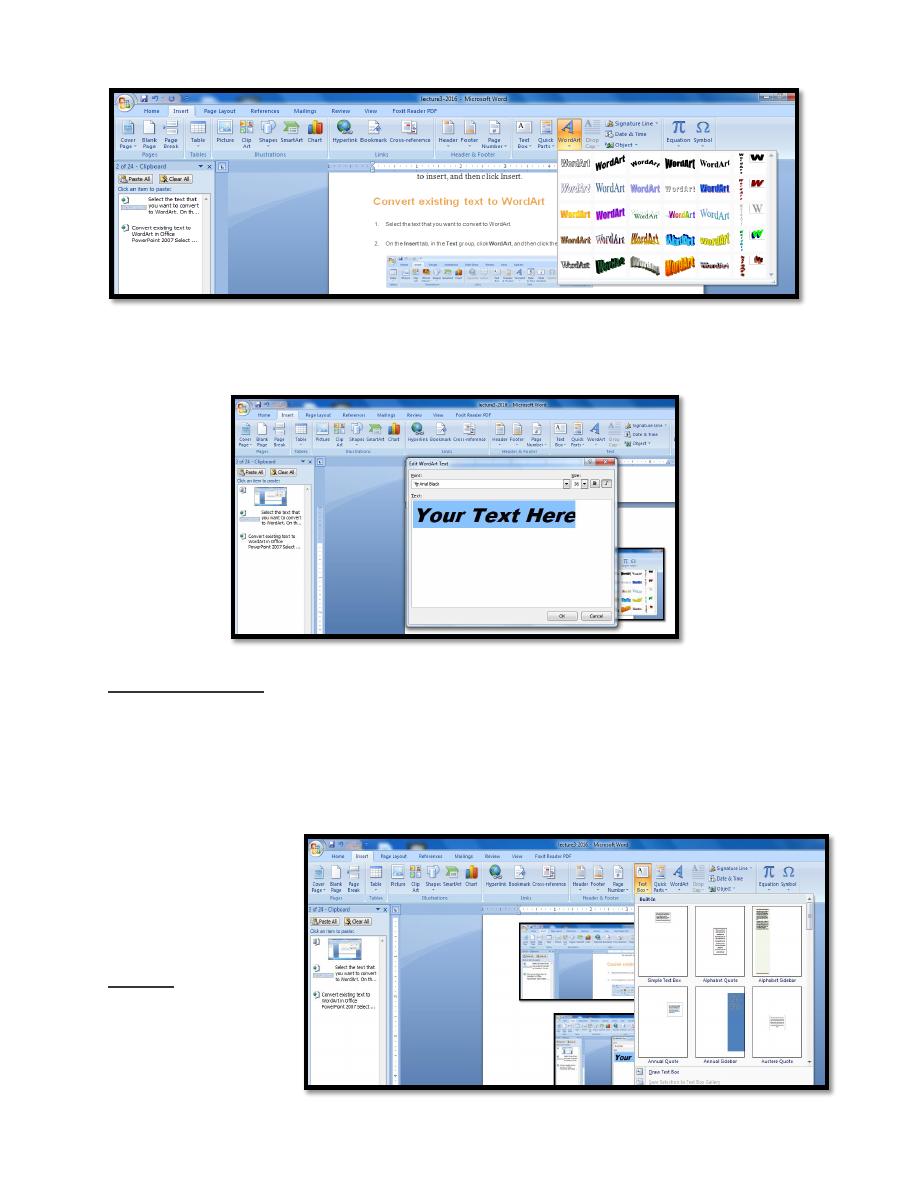
Convert existing text to WordArt
1. Select the text that you want to convert to WordArt.
2. On the Insert tab, in the Text group, click WordArt, and then click the
WordArt that you want.
4
Note You can customize the shape surrounding the WordArt as well as the text
Insert a Text Box
On the
Insert
tab, in the
Text
group, click
Text Box, and then click
Draw Text Box.
Click in the document, and then drag to draw the text box the size that you want.
To add text to a text
box, click inside the
text box and then
type or paste text.
NOTES
To format text in the
text box, use the
5
formatting options in the
Font
group on the
Home
tab.
To position the text box, click it, and then when the pointer becomes a
, drag the
text box to a new location.
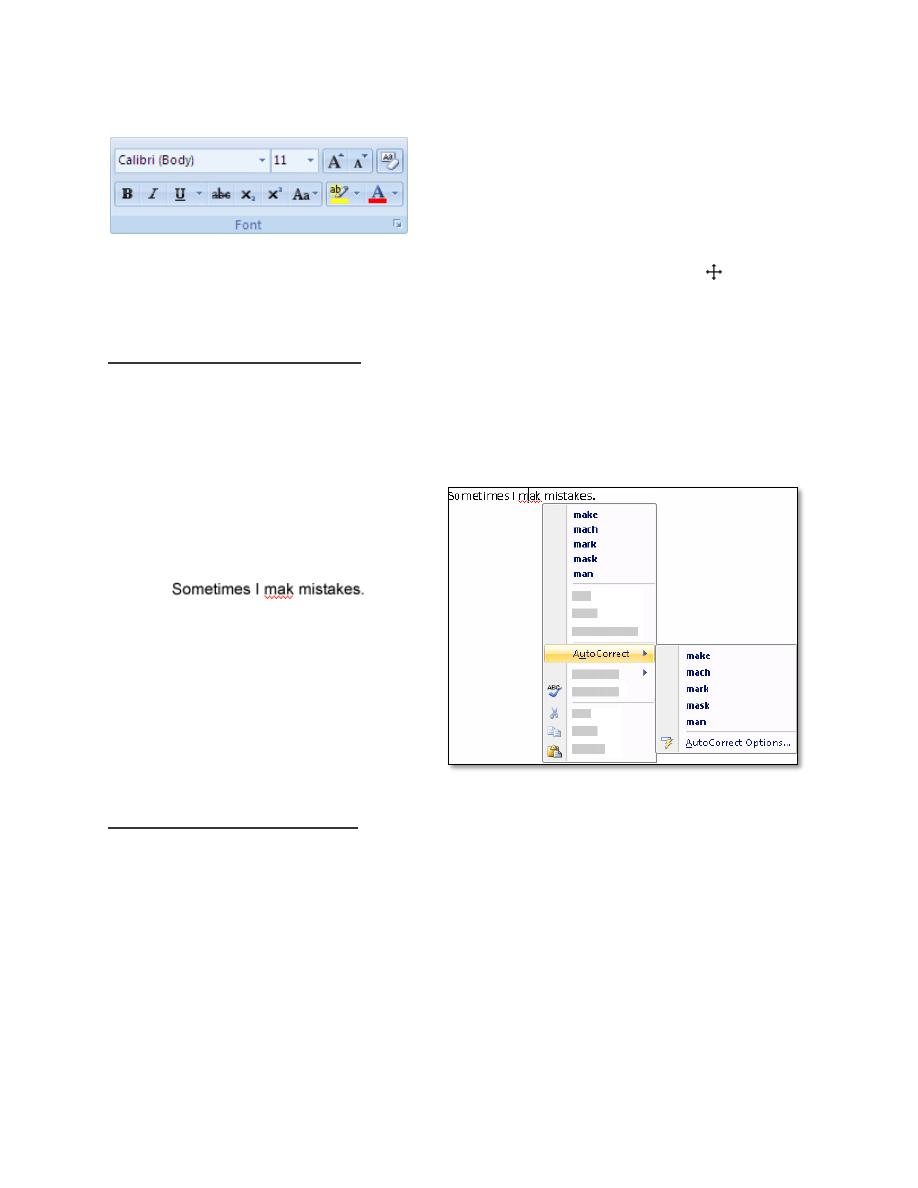
Automatic spelling checking
If you enable automatic spelling checking, in some Office programs you can right-
click a word that you typically misspell and add it directly to the AutoCorrect list.
For example:
1. Right-click a word that has a
wavy red underline.
2. A list of suggested corrections
for the misspelled word
appears
3. Click on the corrected word to
insert it.
Change or set page margins
Page margins are the blank space around the edges of the page. In general,
you insert text and graphics in the printable area between the margins. However,
you can position some items in the margins — for example, headers, footers, and
page numbers.
1. On the Page Layout tab, in the Page Setup group, click Margins.
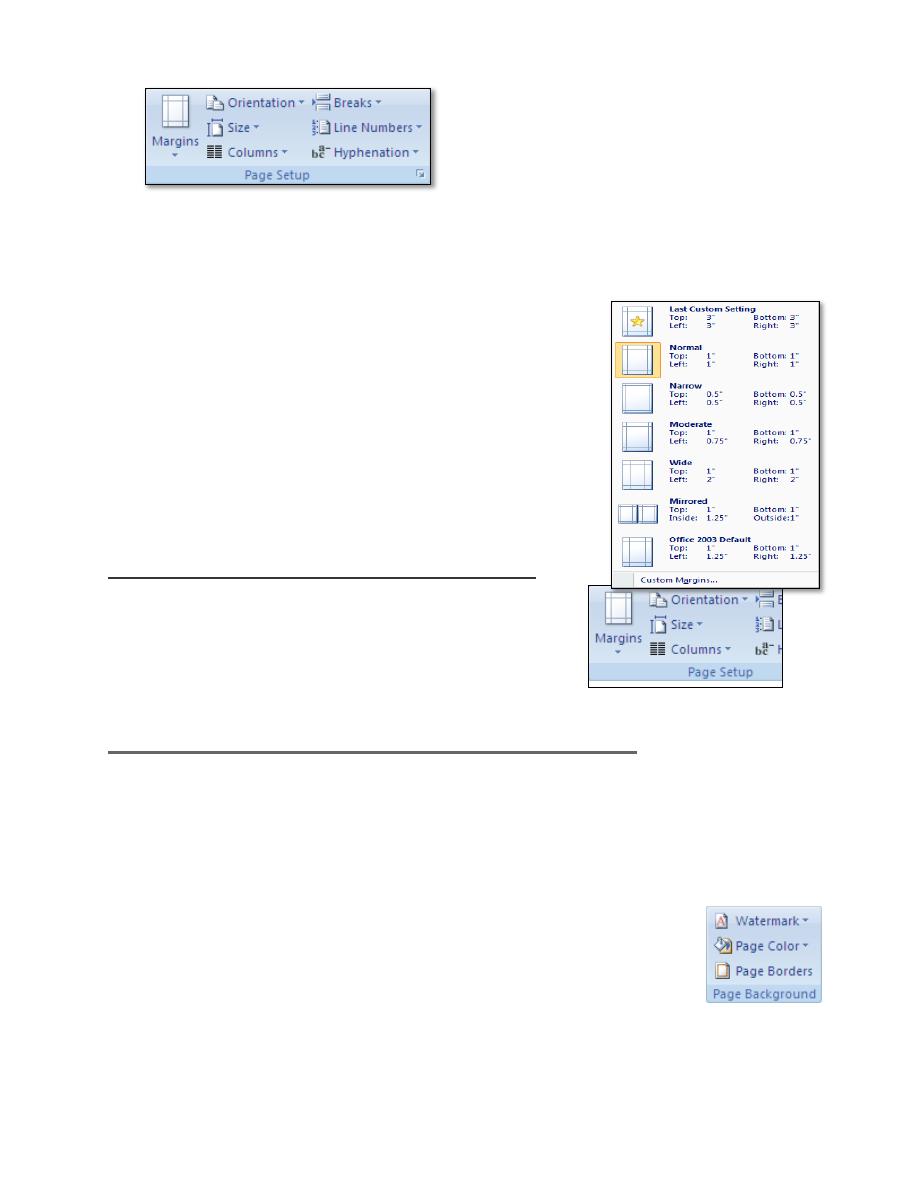
6
2. Click the margin type that you want. For the most common margin width,
click Normal.
When you click the margin type that you want, your
entire document automatically changes to the margin
type that you have selected.
3. You can also specify your own margin settings. Click
Margins, click Custom Margins, and then in the Top,
Bottom, Left, and Right boxes, enter new values for
the margins.
Change the orientation of your entire document
1. On the Page Layout tab, in the Page Setup group,
click Orientation.
2. Click Portrait or Landscape.
Add a background color or texture to a document
You can apply a different color, apply a texture or picture instead of color, or
change settings for patterns and gradients.
1. On the Page Layout tab, in the Page Background group, click Page Color.
2. Do any of the following:
Click the color that you want under Theme Colors or Standard Colors.
Click Fill Effects to change or add special effects, such as gradients, textures, or patterns.
7
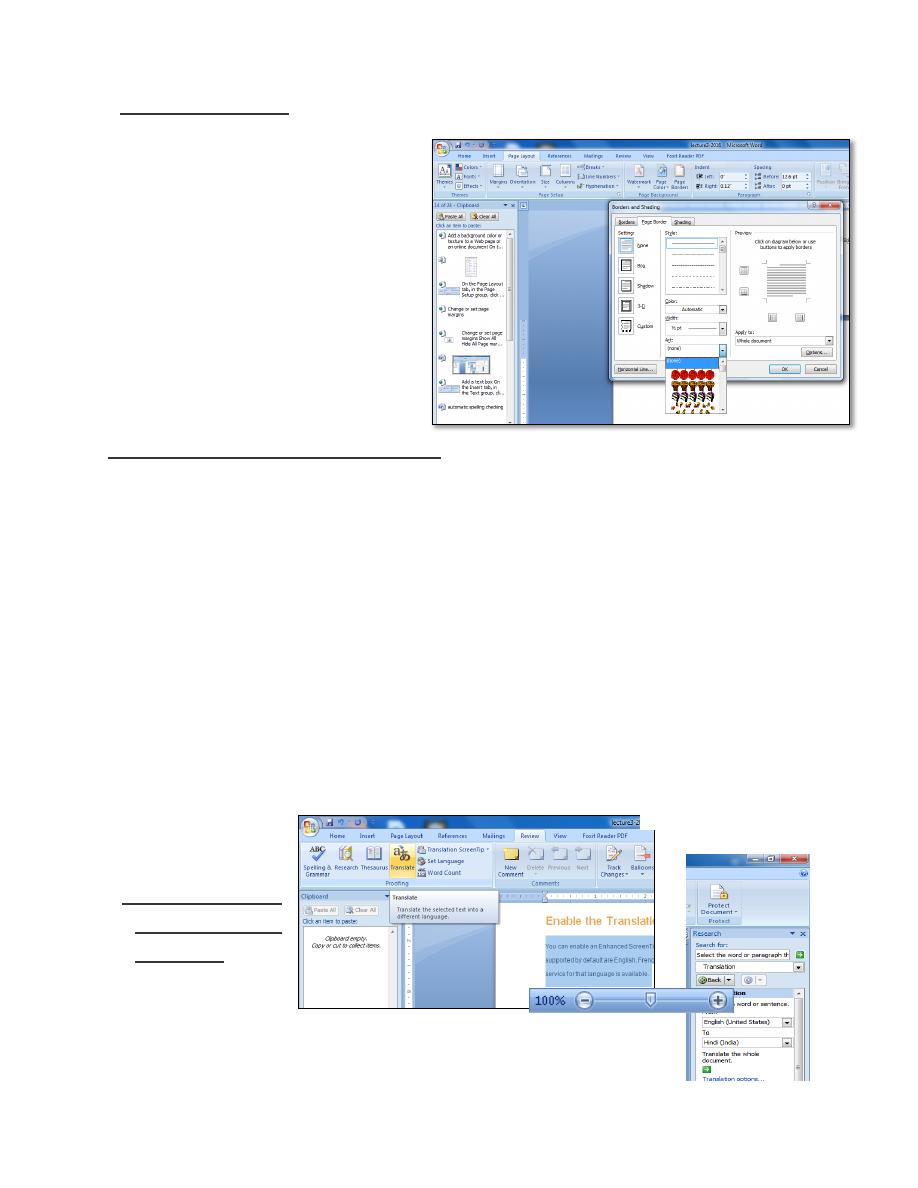
Add a page border
1. On the Page Layout tab, in the
Page Background group, click
Page Border.
2. Click Art bar then select the
border pattern by scrolling the
box, and select the border width
from the width bar.
3. Click OK.
Translate text in a different language
You can translate text written in a different language, such as phrases or
paragraphs, individual words (by using the Mini Translator), or translate
your
with Microsoft Office.
1. Select the word or paragraph that you want to translate it
2. In the file that you want translated, click Review tab, in the Proofing group,
click Translate.
3. Under Choose document translation languages click the Translate
from and Translate
to languages
that you want, and
then click OK or
translate.
Quickly zoom in
or out of a
document
1. On the status
bar, click the Zoom slider.
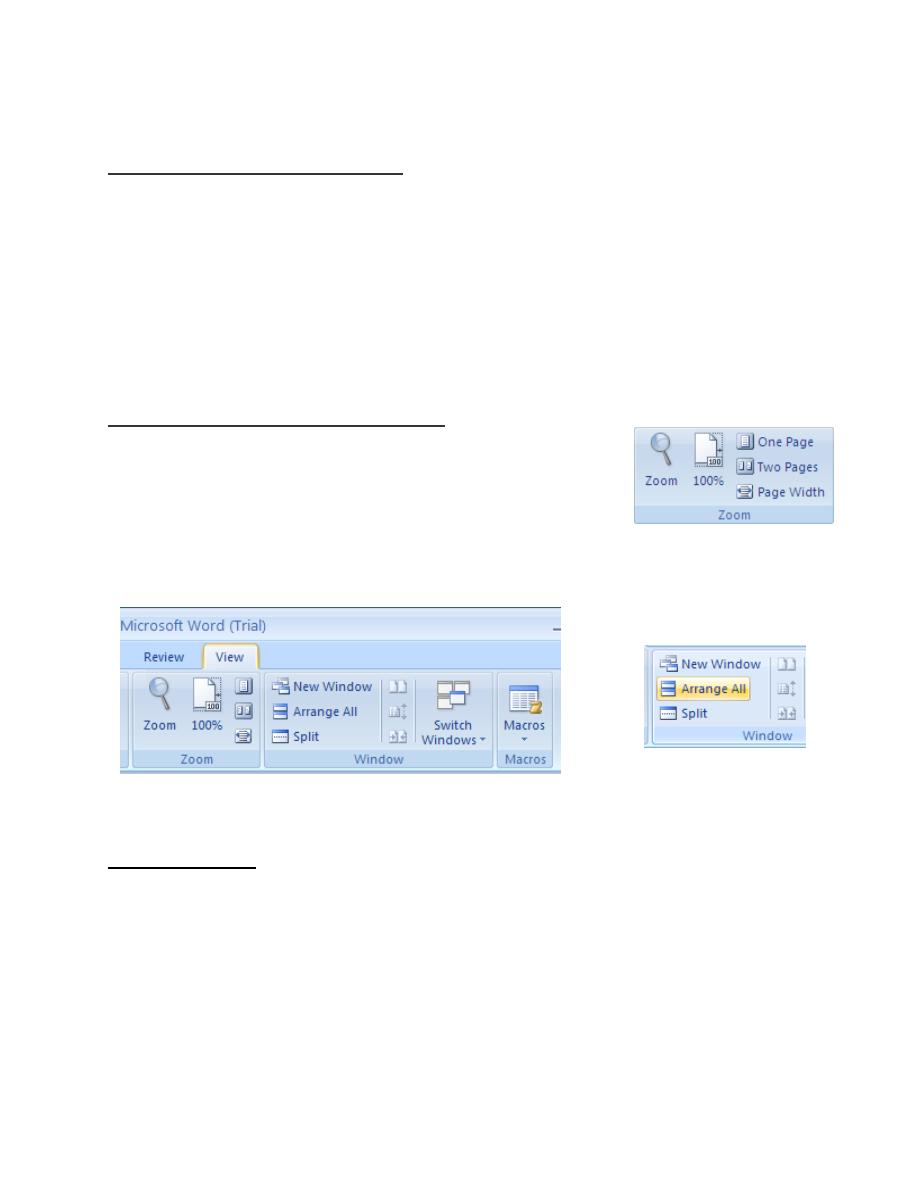
8
2. Slide to the percentage zoom setting that you want.
Choose a particular zoom setting
You can choose how much of a document you view on the screen. Do one of the
following:
- On the View tab, in the Zoom group, click Zoom 100%.
- On the View tab, in the Zoom group, click One Page, Two Pages, or Page
Width.
Arrange or Switch Between Windows
When you open multiple files in Microsoft programs, you
can view multiple files on the window in the same time by:
Click the View tab, in Window groups.
Click Arrange All, click an arrange window option (Tiled,
Horizontal, Vertical, or Cascade), and then click OK.
PDF file format:
PDF is a fixed-layout electronic file format that preserves document
formatting and enables file sharing. The PDF format ensures that when the file is
viewed online or printed, it retains exactly the format that you intended, and that
data in the file cannot easily be changed.

9
To view a PDF file, you must have a PDF reader installed on your computer. One
reader is the Acrobat Reader, available from Adobe Systems. After you save a file
as PDF, you cannot use your 2007 Office release program to make changes
directly to the PDF file. You must make changes to the original 2007 Office
release file in the 2007 Office release program in which you created it and save the
file as PDF again.
1. Click the Microsoft Office Button
, point to the arrow next to Save As,
and then click PDF.
2. In the File Name list, type or select a name for the document.
3. In the Save as type list, click PDF.
4. If you want to open the file immediately after saving it, select the Open file
after publishing check box. This check box is available only if you have a
PDF reader installed on your computer.