Application, Finishing And Polishing of Composite
RestorationDr. Manaf Basil Ahmed
B.D.S – M.Sc. Conservative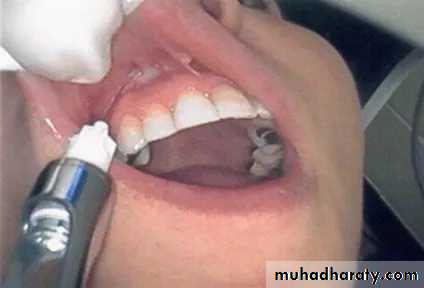
Clinical technique of Composite Restoration:
• 1. Local Anesthesia.• 2. Preparation of the
• Operating Site.
• 3. Shade Selection.
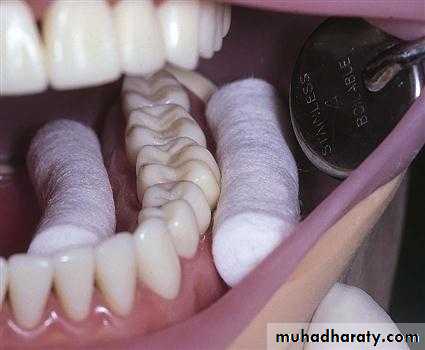
• 4- Isolation of the operating side.
• a- Rubber dam.
• b- Cotton roll (with or without retraction cord).
• 5. Procedure of Composite.
•
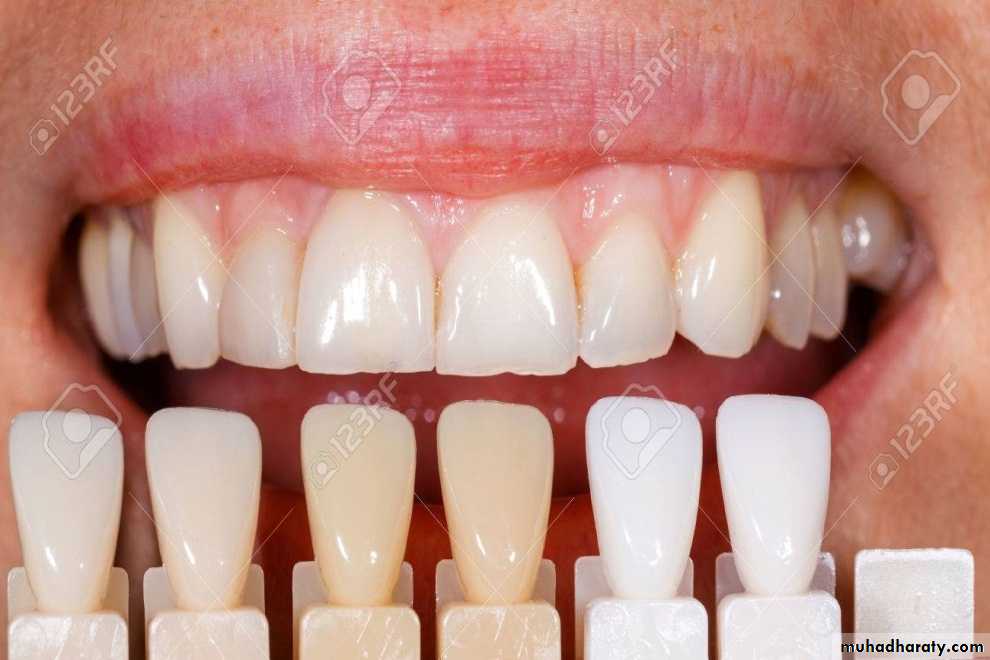
• Criteria for shade selection:
• 1. Good lighting is necessary when the color selection is made. Natural light is preferred for selection of shades.• 2. One holds the entire shade guide near the teeth to determine general color.
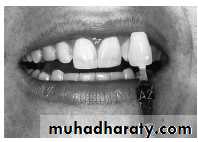
• 3. The shade tab should be partially covered with the patient's lip or operator's thumb to create the natural effect of shadows.
• 4. The selection should be made as rapidly as possible because physiologic limitations of the color receptors in the eye make it increasingly difficult to distinguish between similar colors after approximately 30 seconds.
• 5. If more time is needed, the eyes should be rested by looking at a blue or violet object for a few seconds.
• 6. The cervical area of the tooth is usually darker than the incisal area.
• 7. Final shade selection can be verified by the patient with the use of a hand mirror.• 8. If additional shades are needed, they may be obtained by mixing two or more of the available shades together.
• 9. To be more certain of the proper shade selection, a small amount of material of the selected shade can be placed directly on the tooth, in close proximity to the area to be restored, and cured.
Once the tooth preparation has been completed, the prepared tooth structure is readied for composite insertion and finishing. Treating the prepared tooth for bonding requires etching and then application of an adhesive.
The acid-etch technique requires that a very exacting sequence be followed if optimal results are to be obtained, including isolation from fluids (saliva and sulcular seepage) by using either a rubber dam or cotton rolls and/or retraction cord.
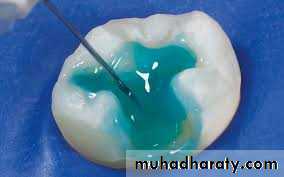
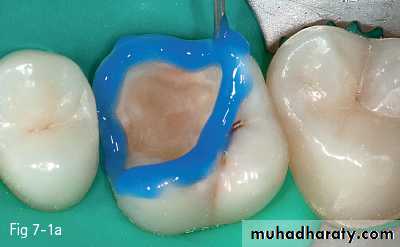
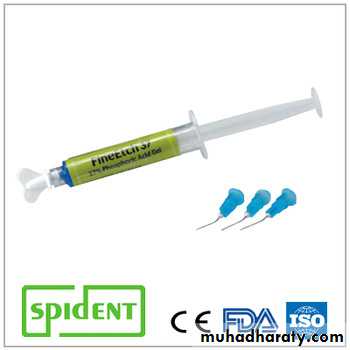
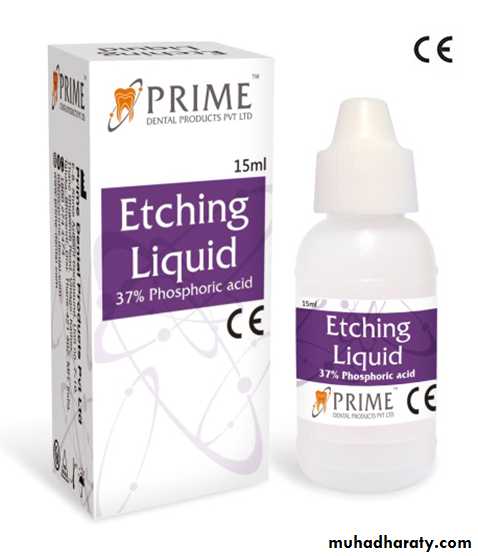
Both liquid and gel etchants are available, The etchant gels can be placed carefully,, but usually a syringe applicator is used to inject the gel etchant directly onto the prepared tooth structure.

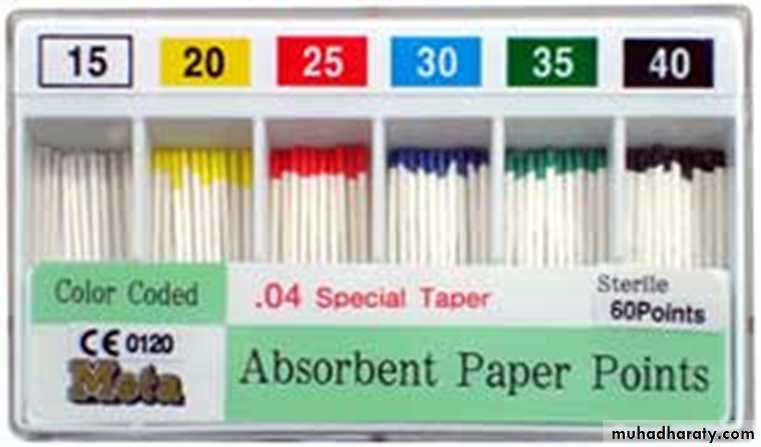
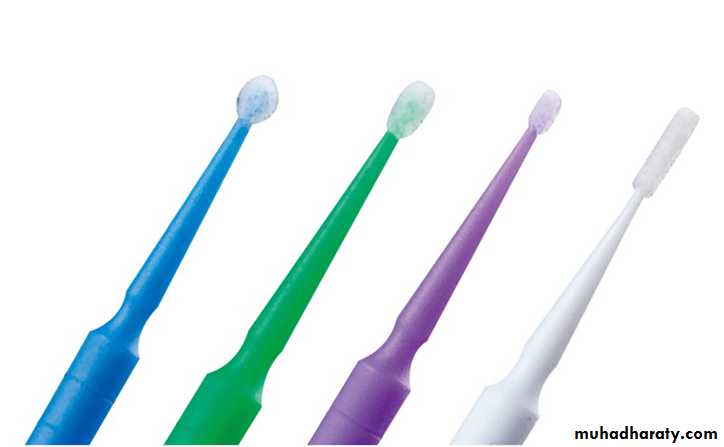
If liquid etchants are used, they are applied with brushes or endodontic paper points held in cotton pliers.
An etching time for both dentin and enamel is considered sufficient.
20 seconds for enamel and 15 seconds for dentin.The area is then rinsed with water for 5 seconds, starting on the adjacent tooth to prevent possible splashing of acid-rich water onto the patient, dentist, or assistant.
The area should be dried with clean, dry air from the air-water syringe if only enamel has been etched. Dried etched enamel should exhibit ground glass or lightly frosted appearance (chalky appearance). If this appearance is not evident, the enamel must be etched again for an additional seconds. If both enamel and dentin have been etched, then the area must be left slightly moistened.
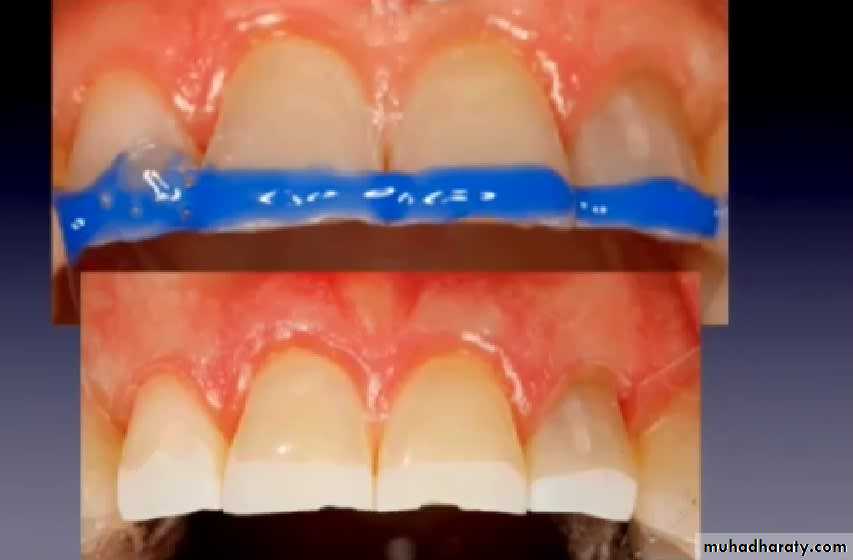
Over drying etched dentin surfaces compromises dentin bonding as a result of the collapse of the collagen network in the etched dentin layer. This collapse prevents optimal primer and adhesive penetration and compromises hybrid layer formation.
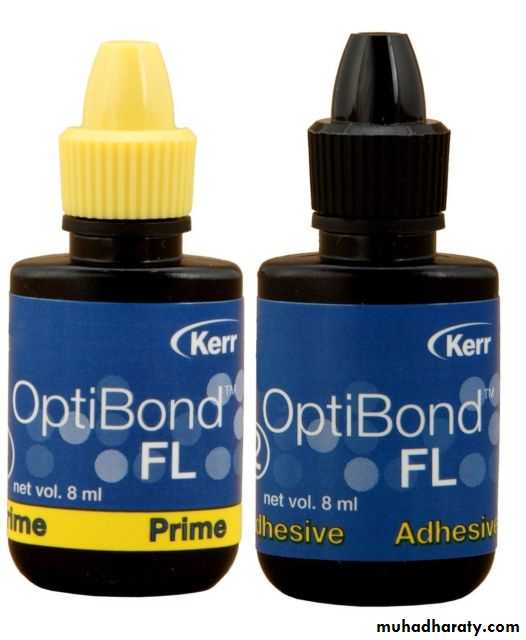
Once the enamel (and dentin) is etched, rinsed, and left appropriately moist, the primer is applied to both surfaces. Most contemporary bonding systems combine the primer and adhesive into a single bottle, requiring only one application.
After that make slight drying and curing the bonding agents for about 10-20 seconds.
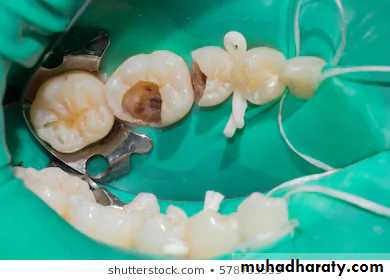
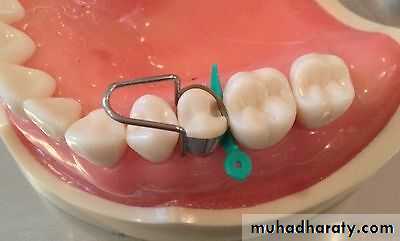
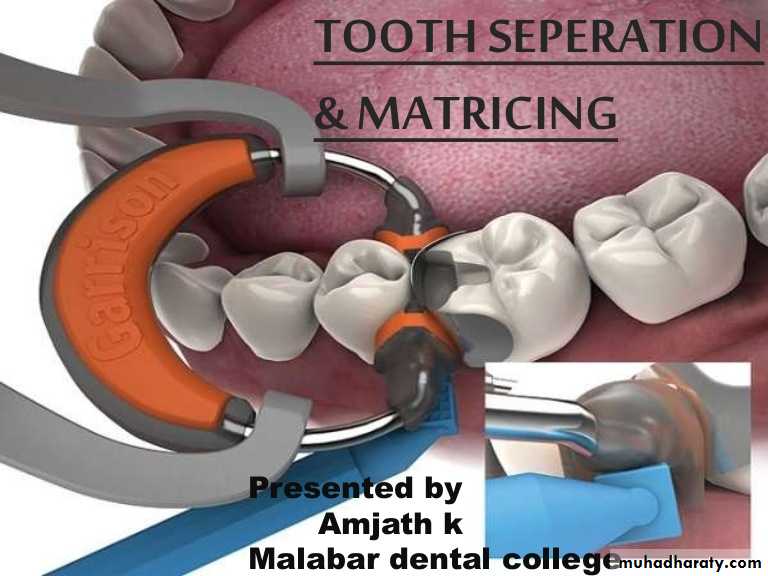
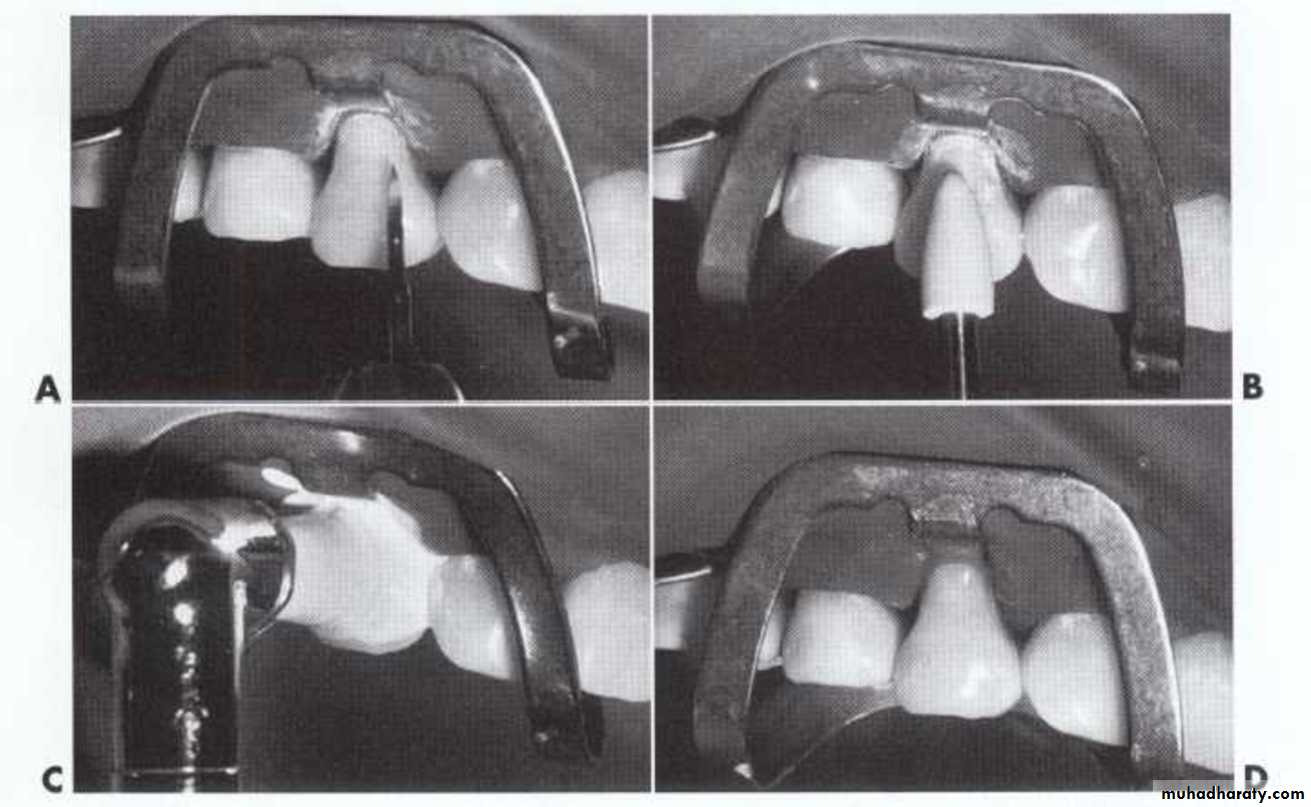
Matrix Placement
A matrix is a device that may be applied to a prepared tooth before the insertion of the composite material. It fits around part or all of the tooth being restored and functions primarily to provide the appropriate proximal contact and contour and prevent major excess of the restorative material beyond the preparation margins on the proximal surface, especially the gingival margin. It should be relatively easy to apply and remove.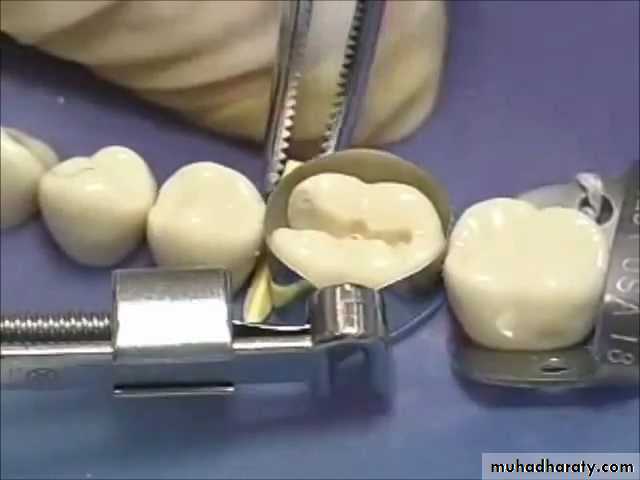
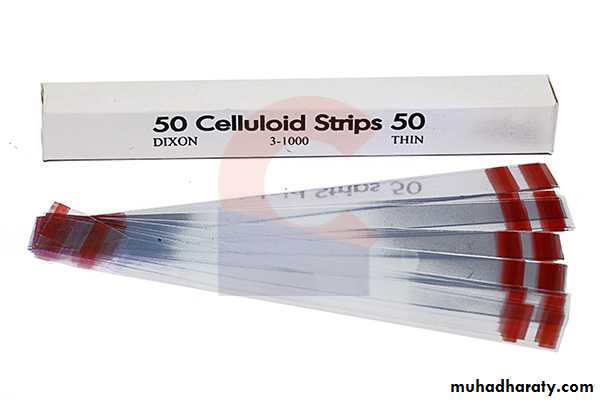
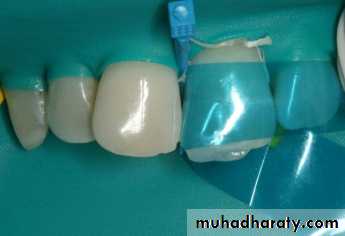
For preparations involving the proximal area, a polyester matrix strip (celluloid strip) is placed between the teeth before the acid is applied to prevent inadvertently etching the adjacent tooth.
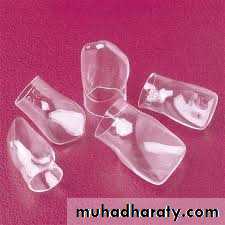
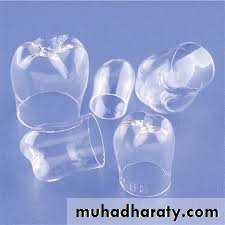
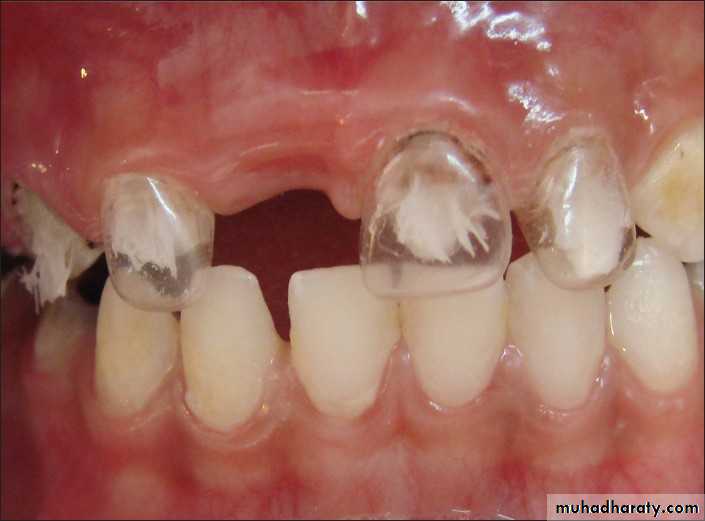
Celluloid Crown
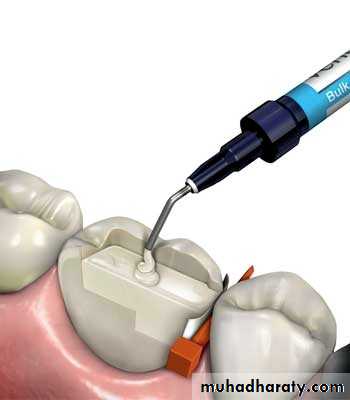
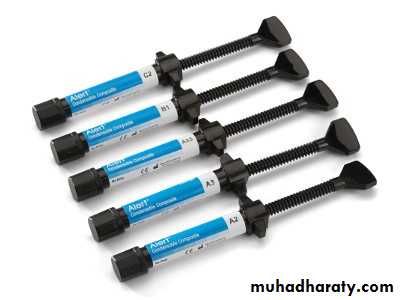
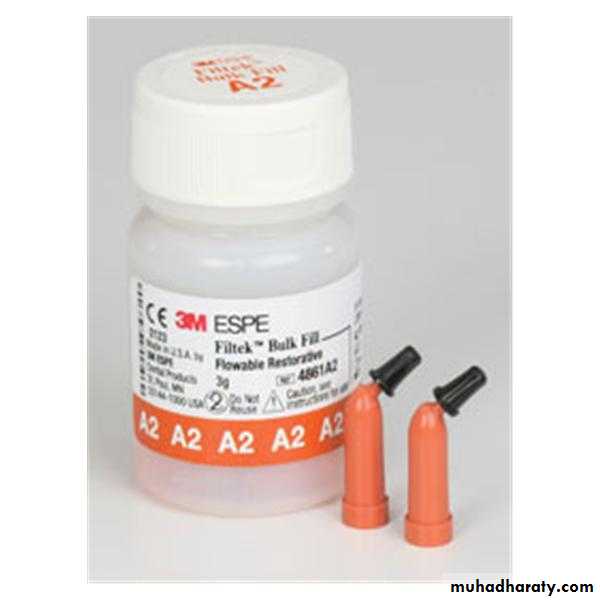
Inserting the Composite
it is important that the material be inserted into the tooth preparation in 1 to 2 mm thicknesses. This allows the light to properly polymerize the composite and may reduce the effects of polymerization shrinkage, especially along the gingival floor.Curing time for about 40 seconds for each layer.
Either a hand instrument or syringe can be used for inserting light-cured composites.

Following insertion and polymerization of the composite material, the matrix and wedges are removed, the restoration cured again from different angles (if light cured), and the restoration is examined for voids or lack of proximal contacts. If correction is needed, it should be accomplished at this time, because any additions will bond satisfactorily to the uncontaminated surface layer of the composite material.
Contouring and Polishing the Composite
Good technique and experience in inserting composites significantly reduce the amount of finishing required.Coarse diamond instruments can be used to remove excess, but they generally are not recommended for finishing composites because of the high risk of inadvertently damaging contiguous tooth structure.
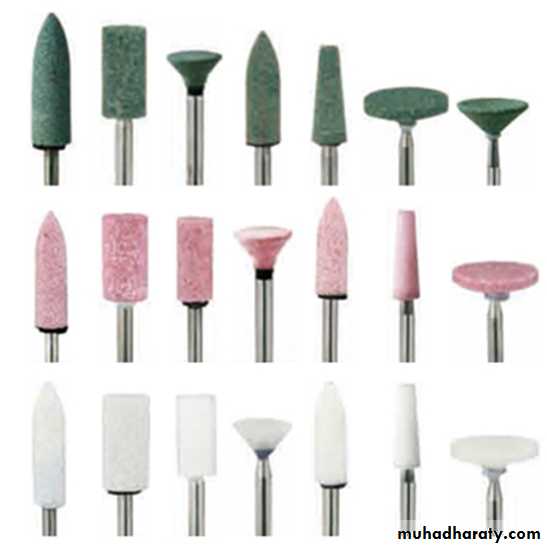
Finishing BursDiamond Burs Ceramic Burs
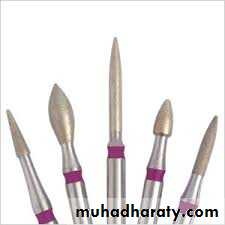
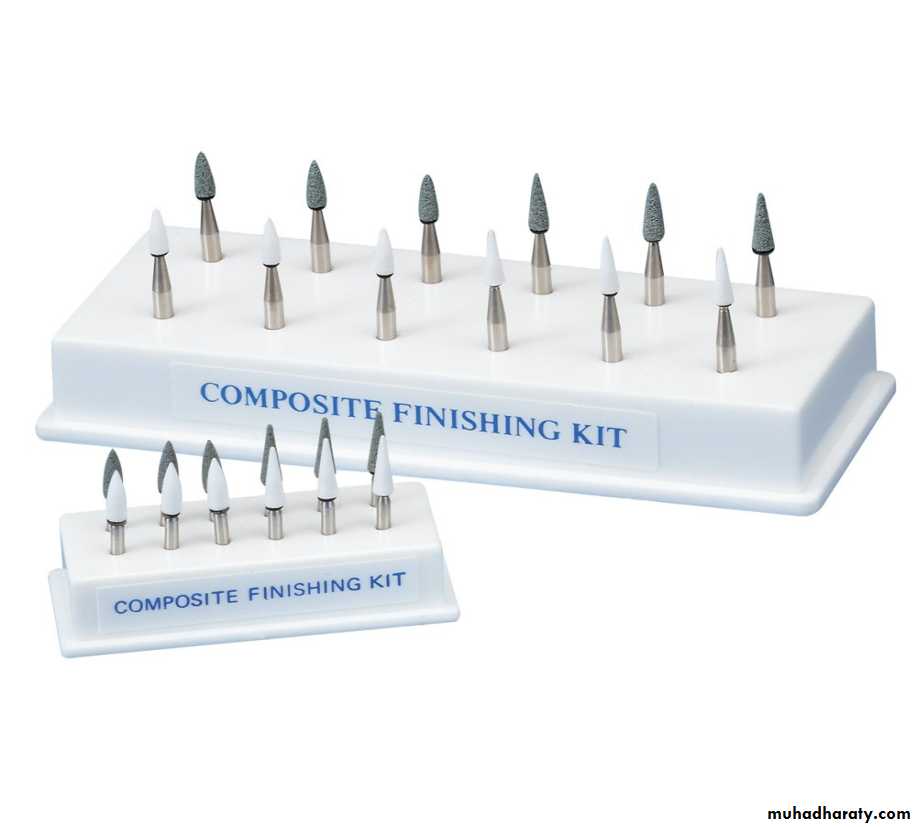
Polishing Burs Silicone Burs Polishing Weel
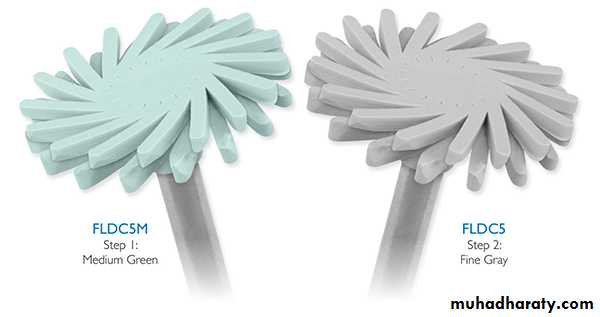
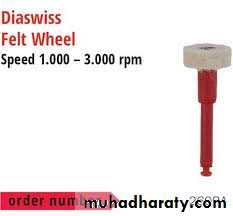
Aluminum oxide polishing paste should be used in the polishing of composite.
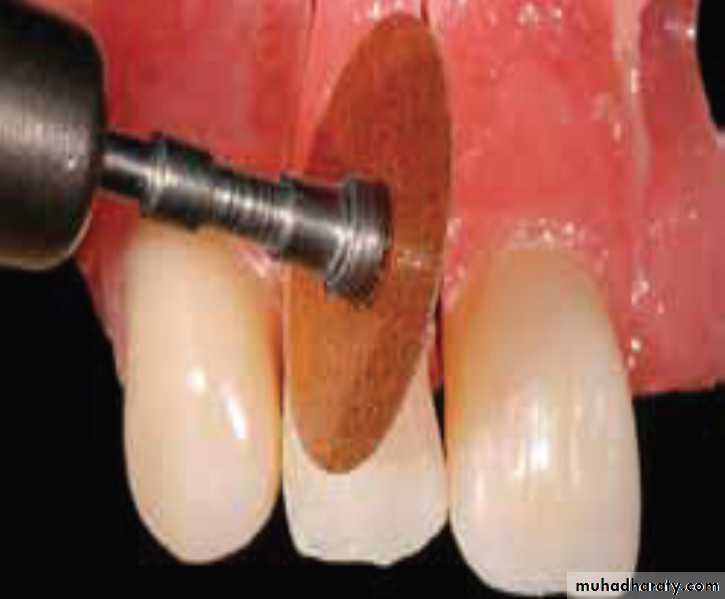
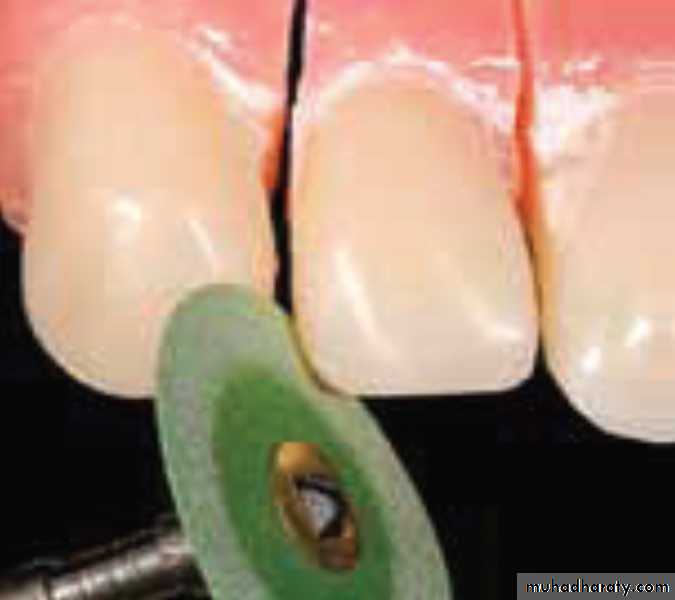
For some locations commercially available abrasive discs (degree of abrasiveness depends on the amount of excess to be removed) mounted on a mandrel specific to the disc type, in an angle handpiece at low speed, can be substituted for or used after the finishing bur or diamond.
Further contouring and finishing of proximal surfaces can be completed with abrasive finishing strips as well.
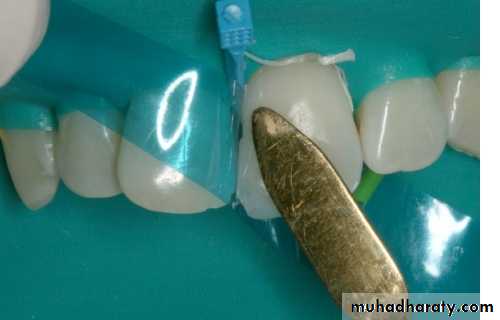
Proximal and Embrasure Areas: The proximal surface contours and margins should be assessed visually and tactilely with an explorer and dental floss. The floss is positioned below the gingival margin and it is pulled occlusally. If the floss catches or frays, additional finishing is indicated. A sharp gold finishing knife, or No. 12 surgical blade mounted in a Bard-Parker handle is well suited for removing excess material from the gingival proximal area.
Repairing Composite Restorations
If a patient presents with a composite restoration that has a localized defect, a repair usually can be made.Easily accessible areas may be roughened with a diamond stone; the area is etched; primer may be applied if dentin is exposed; adhesive is applied; and finally the composite is inserted, contoured, and polished.
If the defect is not easily accessible, a tooth preparation must be created that exposes the defective area and a matrix may be necessary; placement of the etchant, primer, adhesive, and composite is then performed.
If a void is detected immediately after insertion of a composite restoration but before contouring is initiated more composite can be added directly to the void area.