Lecture 4
2016 -2017
Maha alani
1
PowerPoint Views
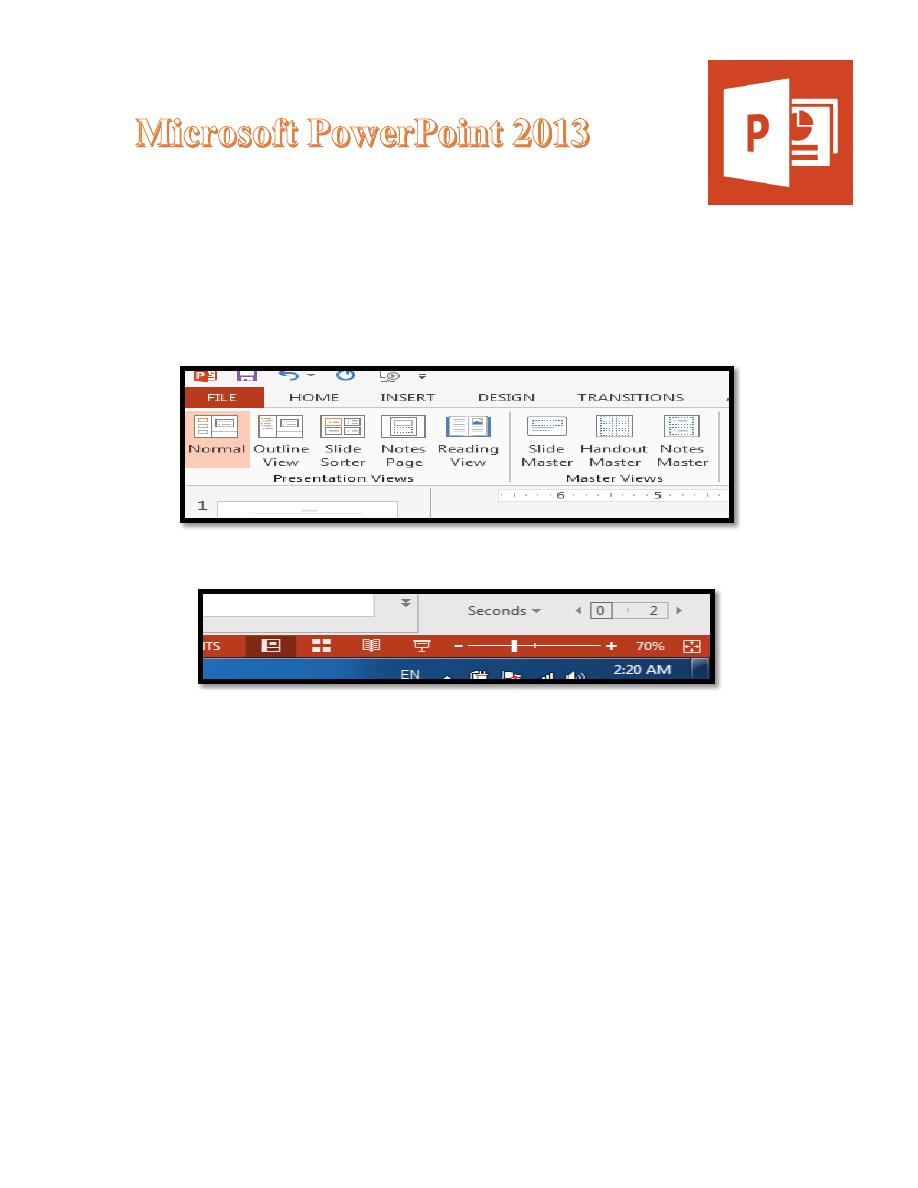
It is possible to view your presentation in a number of different ways.
To switch between views:
Either: Move to the VIEW tab and choose one of the icons in the
Presentation Views group
Or: Use the buttons at the bottom right of the window (just to the left of the
Zoom options)
There are 4 different view buttons give you:
View on Screen Use to Normal View Shows the slides in miniature and
in full, plus any notes underneath Edit contents of slides; try out
animation effects.
Slide Sorter Shows a miniature of each slide in the current order Add,
delete and move slides; rehearse timings Reading View Plays the
presentation on screen from the current slide Practice presentation and
have access to other tasks.
Lecture 4
2016 -2017
Maha alani
2
Slide Show Plays the presentation on screen from the current slide
Practice presentation, or from the Beginning.
From the View tab on the Ribbon, there is also the following option
(instead of Slide Show):
Notes Page gives a view with more space for speaker's notes under the
slide. Here, you can type up exactly what you plan to say for each
slide. The notes can then be printed out so you have them to
consult when giving an actual presentation Note:
Lecture 4
2016 -2017
Maha alani
3
1. The [Reading View] icon here plays the presentation from the very
beginning. Moving through the Slides
There are several ways to move between slides, when preparing a presentation
in Normal view:
Click on the required slide miniature in the left-hand
section of the screen
Use the scroll bar on the right of the main display -
drag the indicator up or down (the current slide
details are displayed as you do so)
Use the double arrow buttons ([Previous Slide] and
[Next Slide]) at the foot of the scroll bar
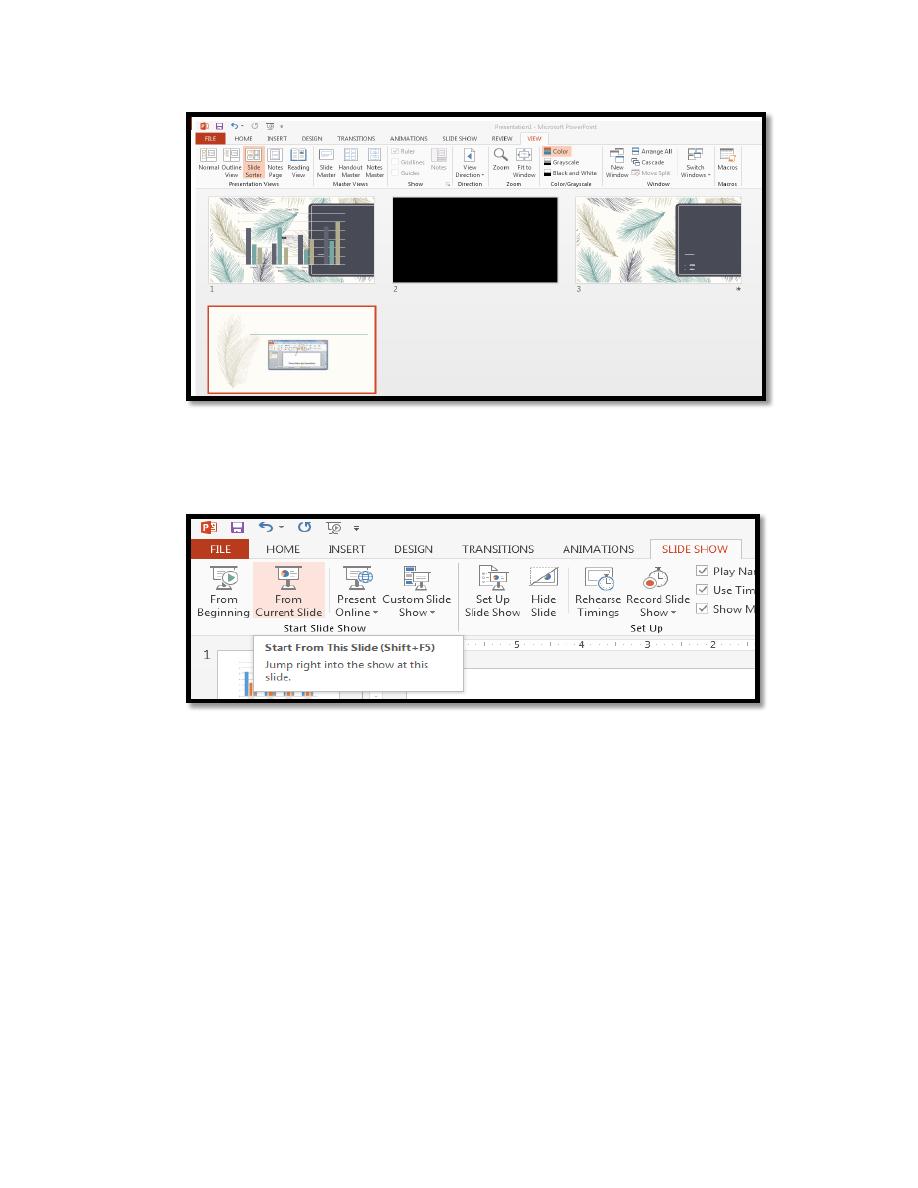
Deleting and Hiding Slides
It's easiest to delete slides in Slide Sorter view (though you can also do so
in Normal view), especially if you have a lot of slides to deal with:
1. Click on the [Slide Sorter] button (either on the Status Bar or VIEW
tab)
Lecture 4
2016 -2017
Maha alani
4
2. Click on the slide to be deleted then press
the <Delete> key
3. To reinstate the deleted slide, press
<Ctrl z>for [Undo]
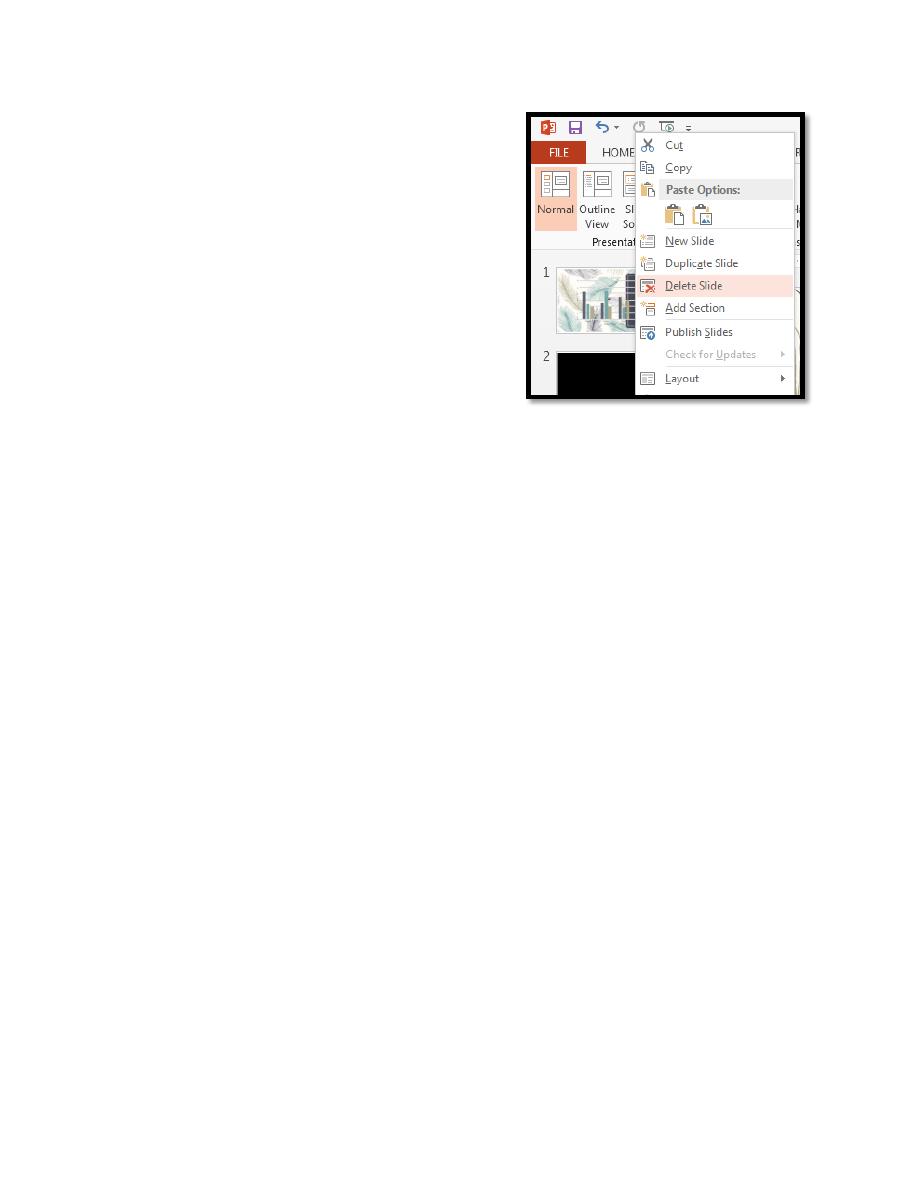
When a slide is hidden it remains within the PowerPoint file, but is not
displayed during the presentation.
To hide a slide:
4. Right click on the slide to be hidden (in Normal View you have to right
click on the slide miniature)
5. From the shortcut menu choose Hide Slide - you’ll find that the number
underneath the slide now has a line through it indicating that it’s hidden
6. To show the slide again, just repeat steps 4 and 5 Tip: To display a
hidden slide when running a show, press the key on the keyboard or
type in the slide number and press.
Changing the Order of Slides
The easiest way to move slides around is within Slide Sorter view:
1. Make sure you are in Slide Sorter view
2. Point to the slide you wish to move then hold down the mouse button
and drag the slide to the new position
3. Release the mouse button when the slide is correctly positioned
Note: In Normal view you can change the order by moving (drag & drop)
the slide miniatures up and down the left panel. In both views, you can also
cut / copy and paste slides via the Clipboard.
Lecture 4
2016 -2017
Maha alani
5
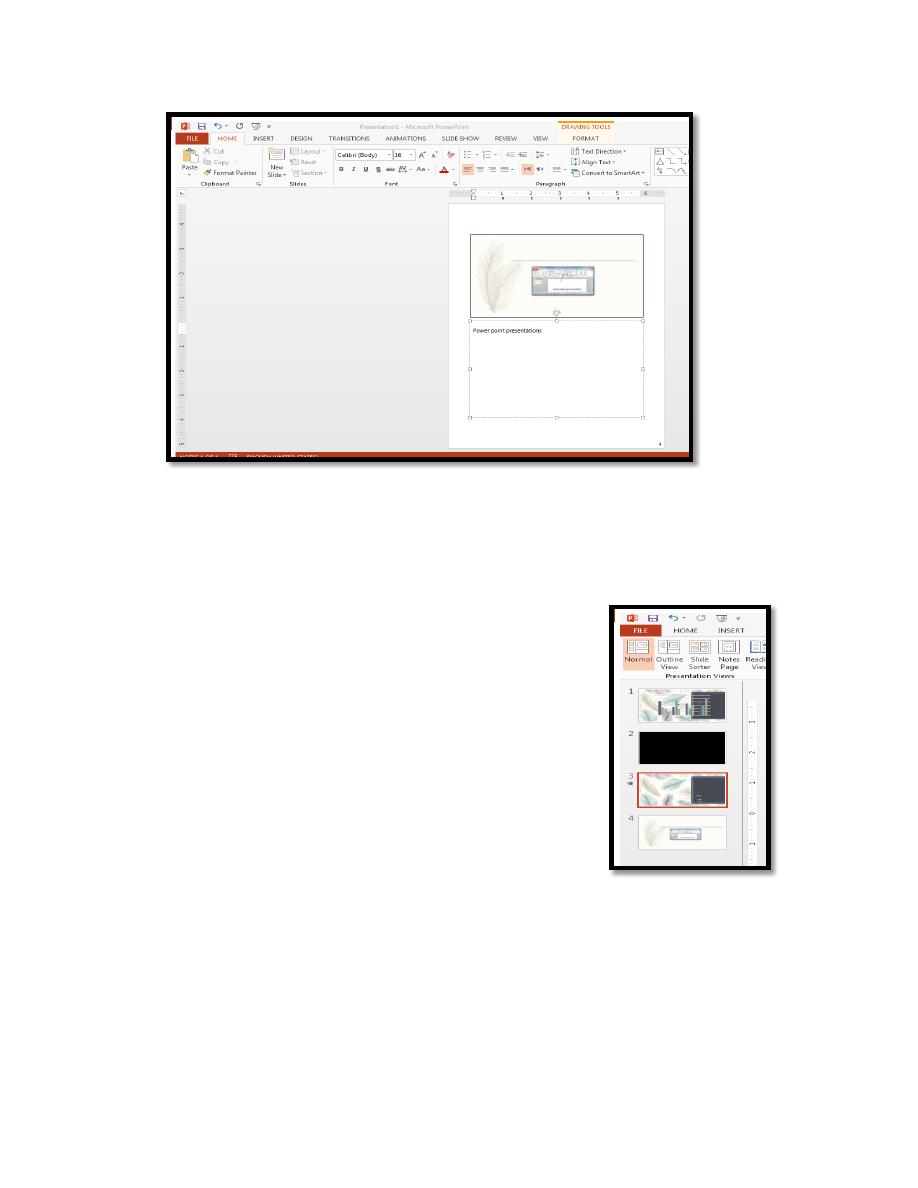
Running the Presentation
Once you have made the slides for a presentation, you can run the show.
If you use the [Slide Show] or press (Shift+F5) buttons on the Status Bar
then it begins from the currently-selected slide; if you press then it starts
from the first slide. On the SLIDE SHOW tab you can choose from either
[From Beginning] or [From Current Slide].
Tip: You can also run a presentation from the current slide using the key
combination.
1. Click on slide 1 to ensure the show starts from the very beginning
2. Click on the [Slide Show] button on the Status Bar.
3. To move forward one slide, click the left mouse button
4. To move back one slide, press the <left arrow> key (or <up arrow>)
key.
Master Slides
are very important as they control the layout of your whole
presentation.
They allow you to create your own slide template which is applied to every
slide. This is useful if you want to put your own logo, picture or even just your
name in the same place on each slide.
1.
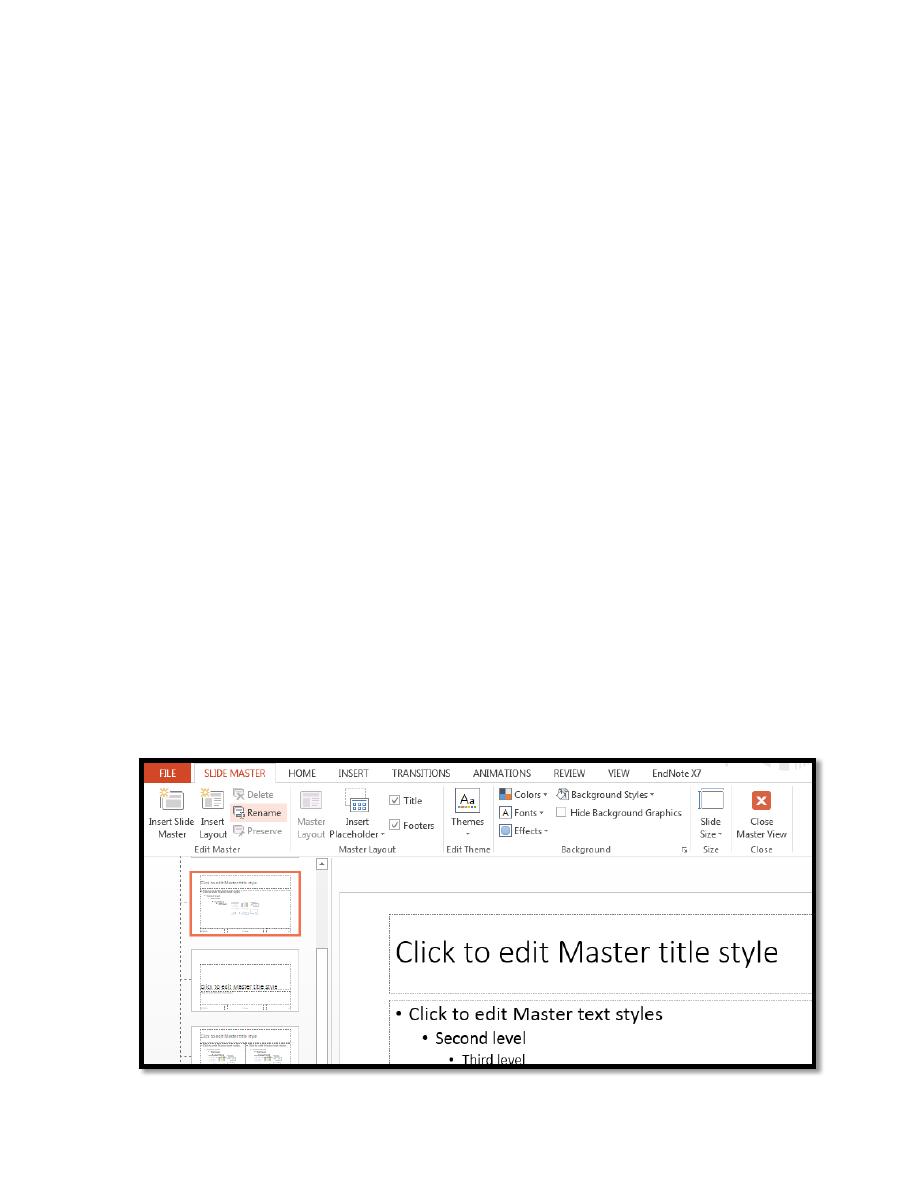
Move to the VIEW tab then click on the [Slide Master] icon in the
Master Views group – a window appears: A Slide Master tab is displayed on
the Ribbon indicating that you are in the Slide Master view.
Lecture 4
2016 -2017
Maha alani
6
2. Click on the first (top) slide miniature on the left this is the Slide Master
which is used by all the slides – any changes you make here are applied to the
whole presentation.
3. Select the footer placeholders using the mouse to draw a selection rectangle
over the placeholders – hold down the mouse button and drag over them (the
rectangle must enclose the placeholders)
4. Move to the HOME tab and use buttons in the Font group to change the
format, e.g. font size
5. To change any placeholder's position, click on the edge (or, more easily,
click on it then press
<Esc>
) and use the
<arrow keys>
to move it to its new
position
6. To see the changes to all the slides, move to the SLIDE MASTER Tab
and [Close Master View]
7. Save your presentation - press
<Ctrl s>
Save your presentation file
In PowerPoint 2013, you can save your desktop presentation to your local
drive (such as your laptop), a network location, a CD, a DVD, or a flash
drive. You can also save it as a different file format.
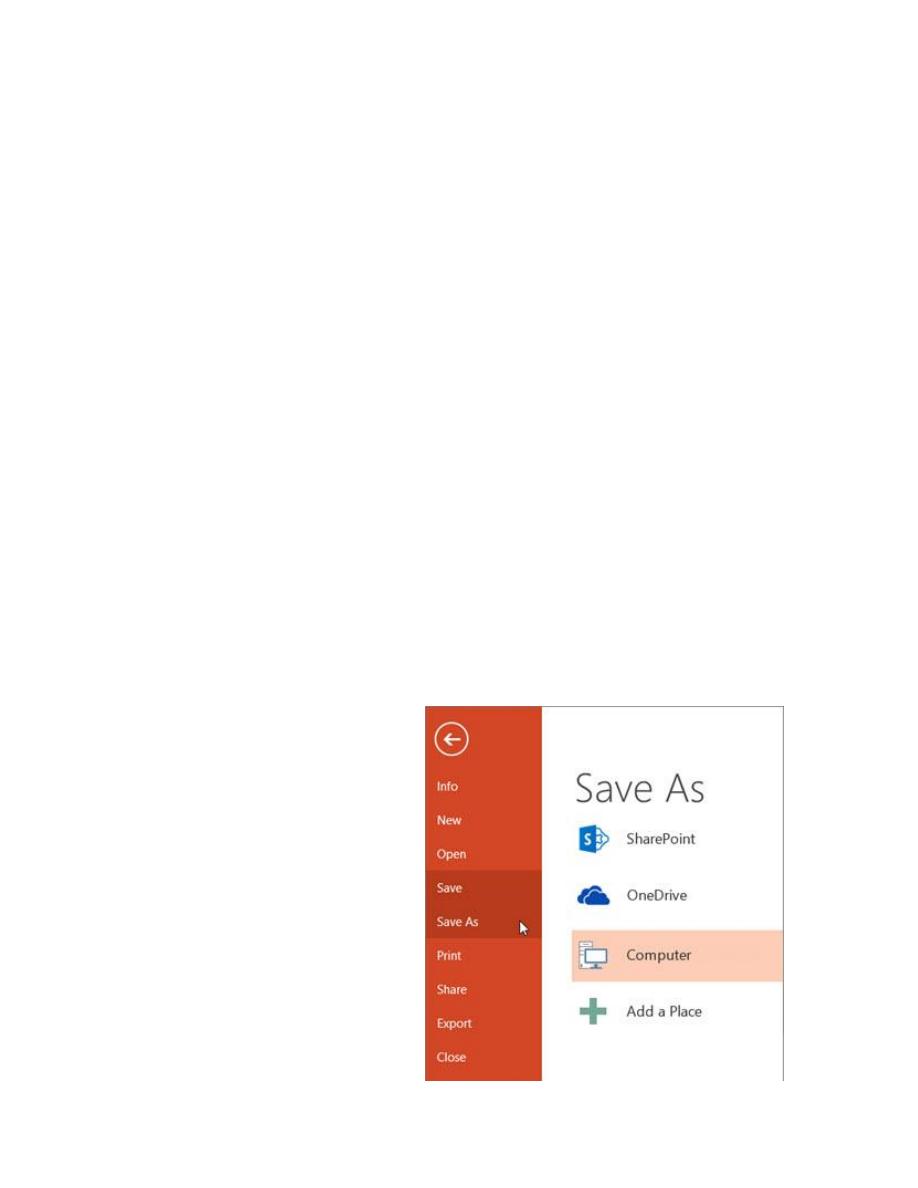
1. On the File tab, select Save. To save to your local drive, such as your
laptop, a flash drive, CD
or DVD drive, select
Computer.
2. Select Browse, pick a
path and file folder.
3. Enter the file name in File
name box.
4. Select Save.
Lecture 4
2016 -2017
Maha alani
7
Save your presentation file in a different file format or in
different location in the computer:
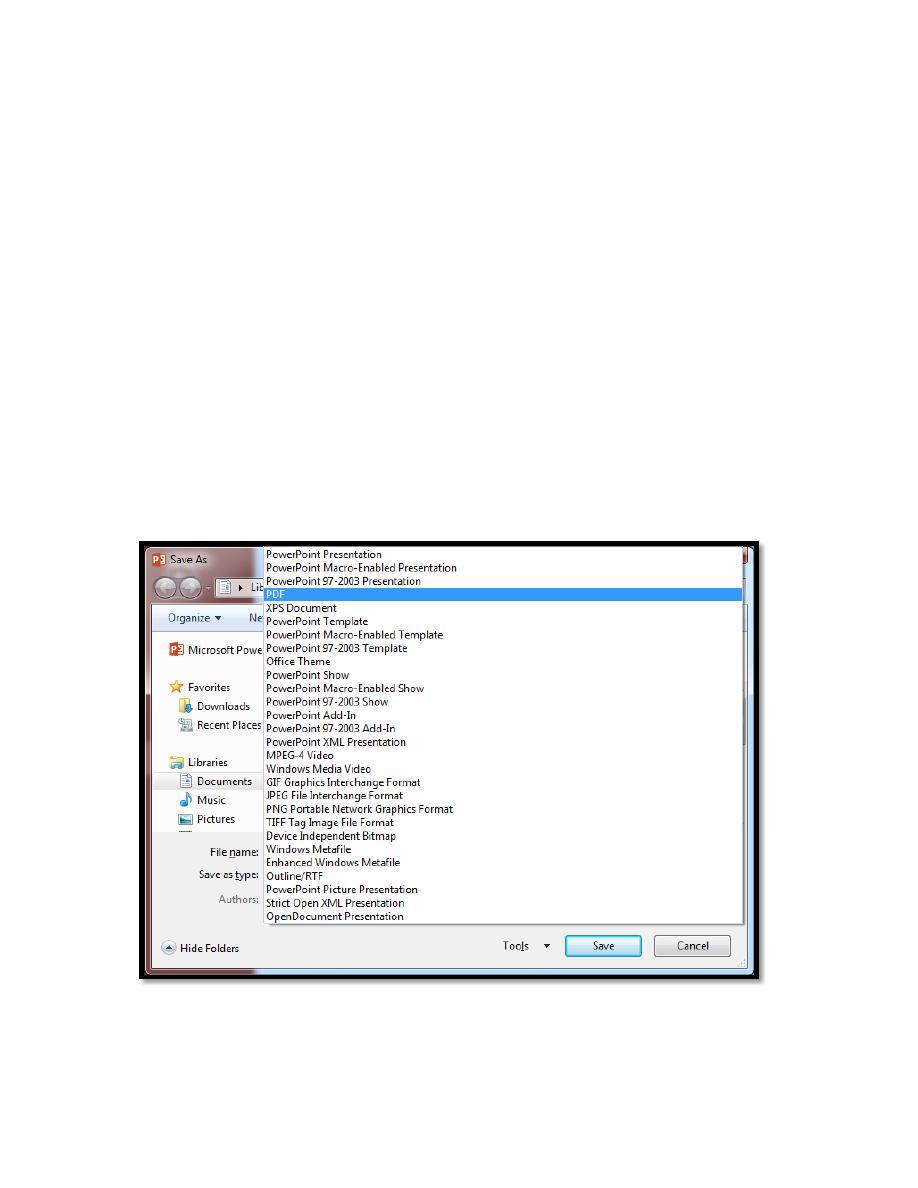
1. On the File tab, select Save As.
2. Under Recent Folders, select Browse, pick a path and file folder, and
then name the file.
3. In the Save as type list, pick the file format that you want. To save
files in PDF format (.pdf) for a non-editable copy.
4. Select Save.
Save your presentation in an earlier version of PowerPoint
In PowerPoint 2013, you can save files to an earlier version of PowerPoint
by selecting the version from the Save as type list in the Save As box. For
example, you can save your PowerPoint presentation in the newest
PowerPoint Presentation format (.pptx), or as a PowerPoint 97-2003
Presentation (.ppt).
Lecture 4
2016 -2017
Maha alani
8
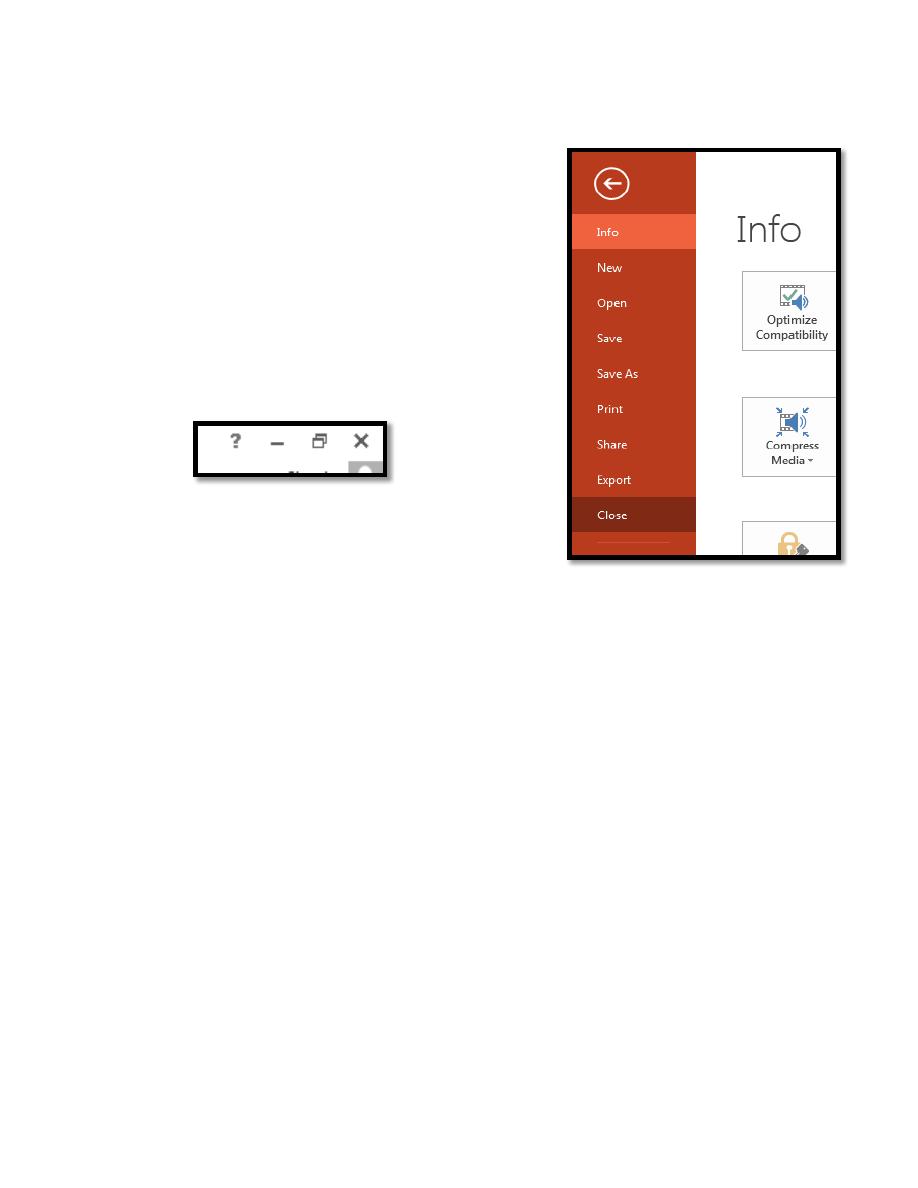
Closing the Presentation
To close the PowerPoint presentation file:
1. Save your PowerPoint presentation by
pressing <Ctrl s>.
2. To close PowerPoint, click on the File tab
and select [Close] button.
3. Or from the upper – right corner of the
window click X tool.
Tip: A quick way to close any Office application is to press: (Alt+ F4) or
(Ctrl + F4) can be used to close a file.